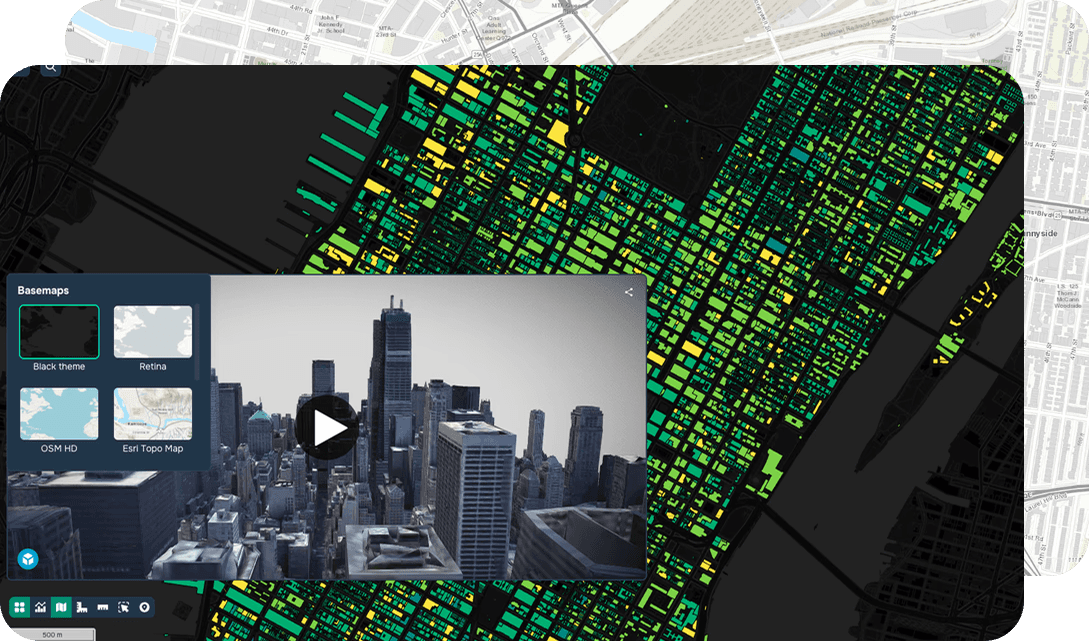
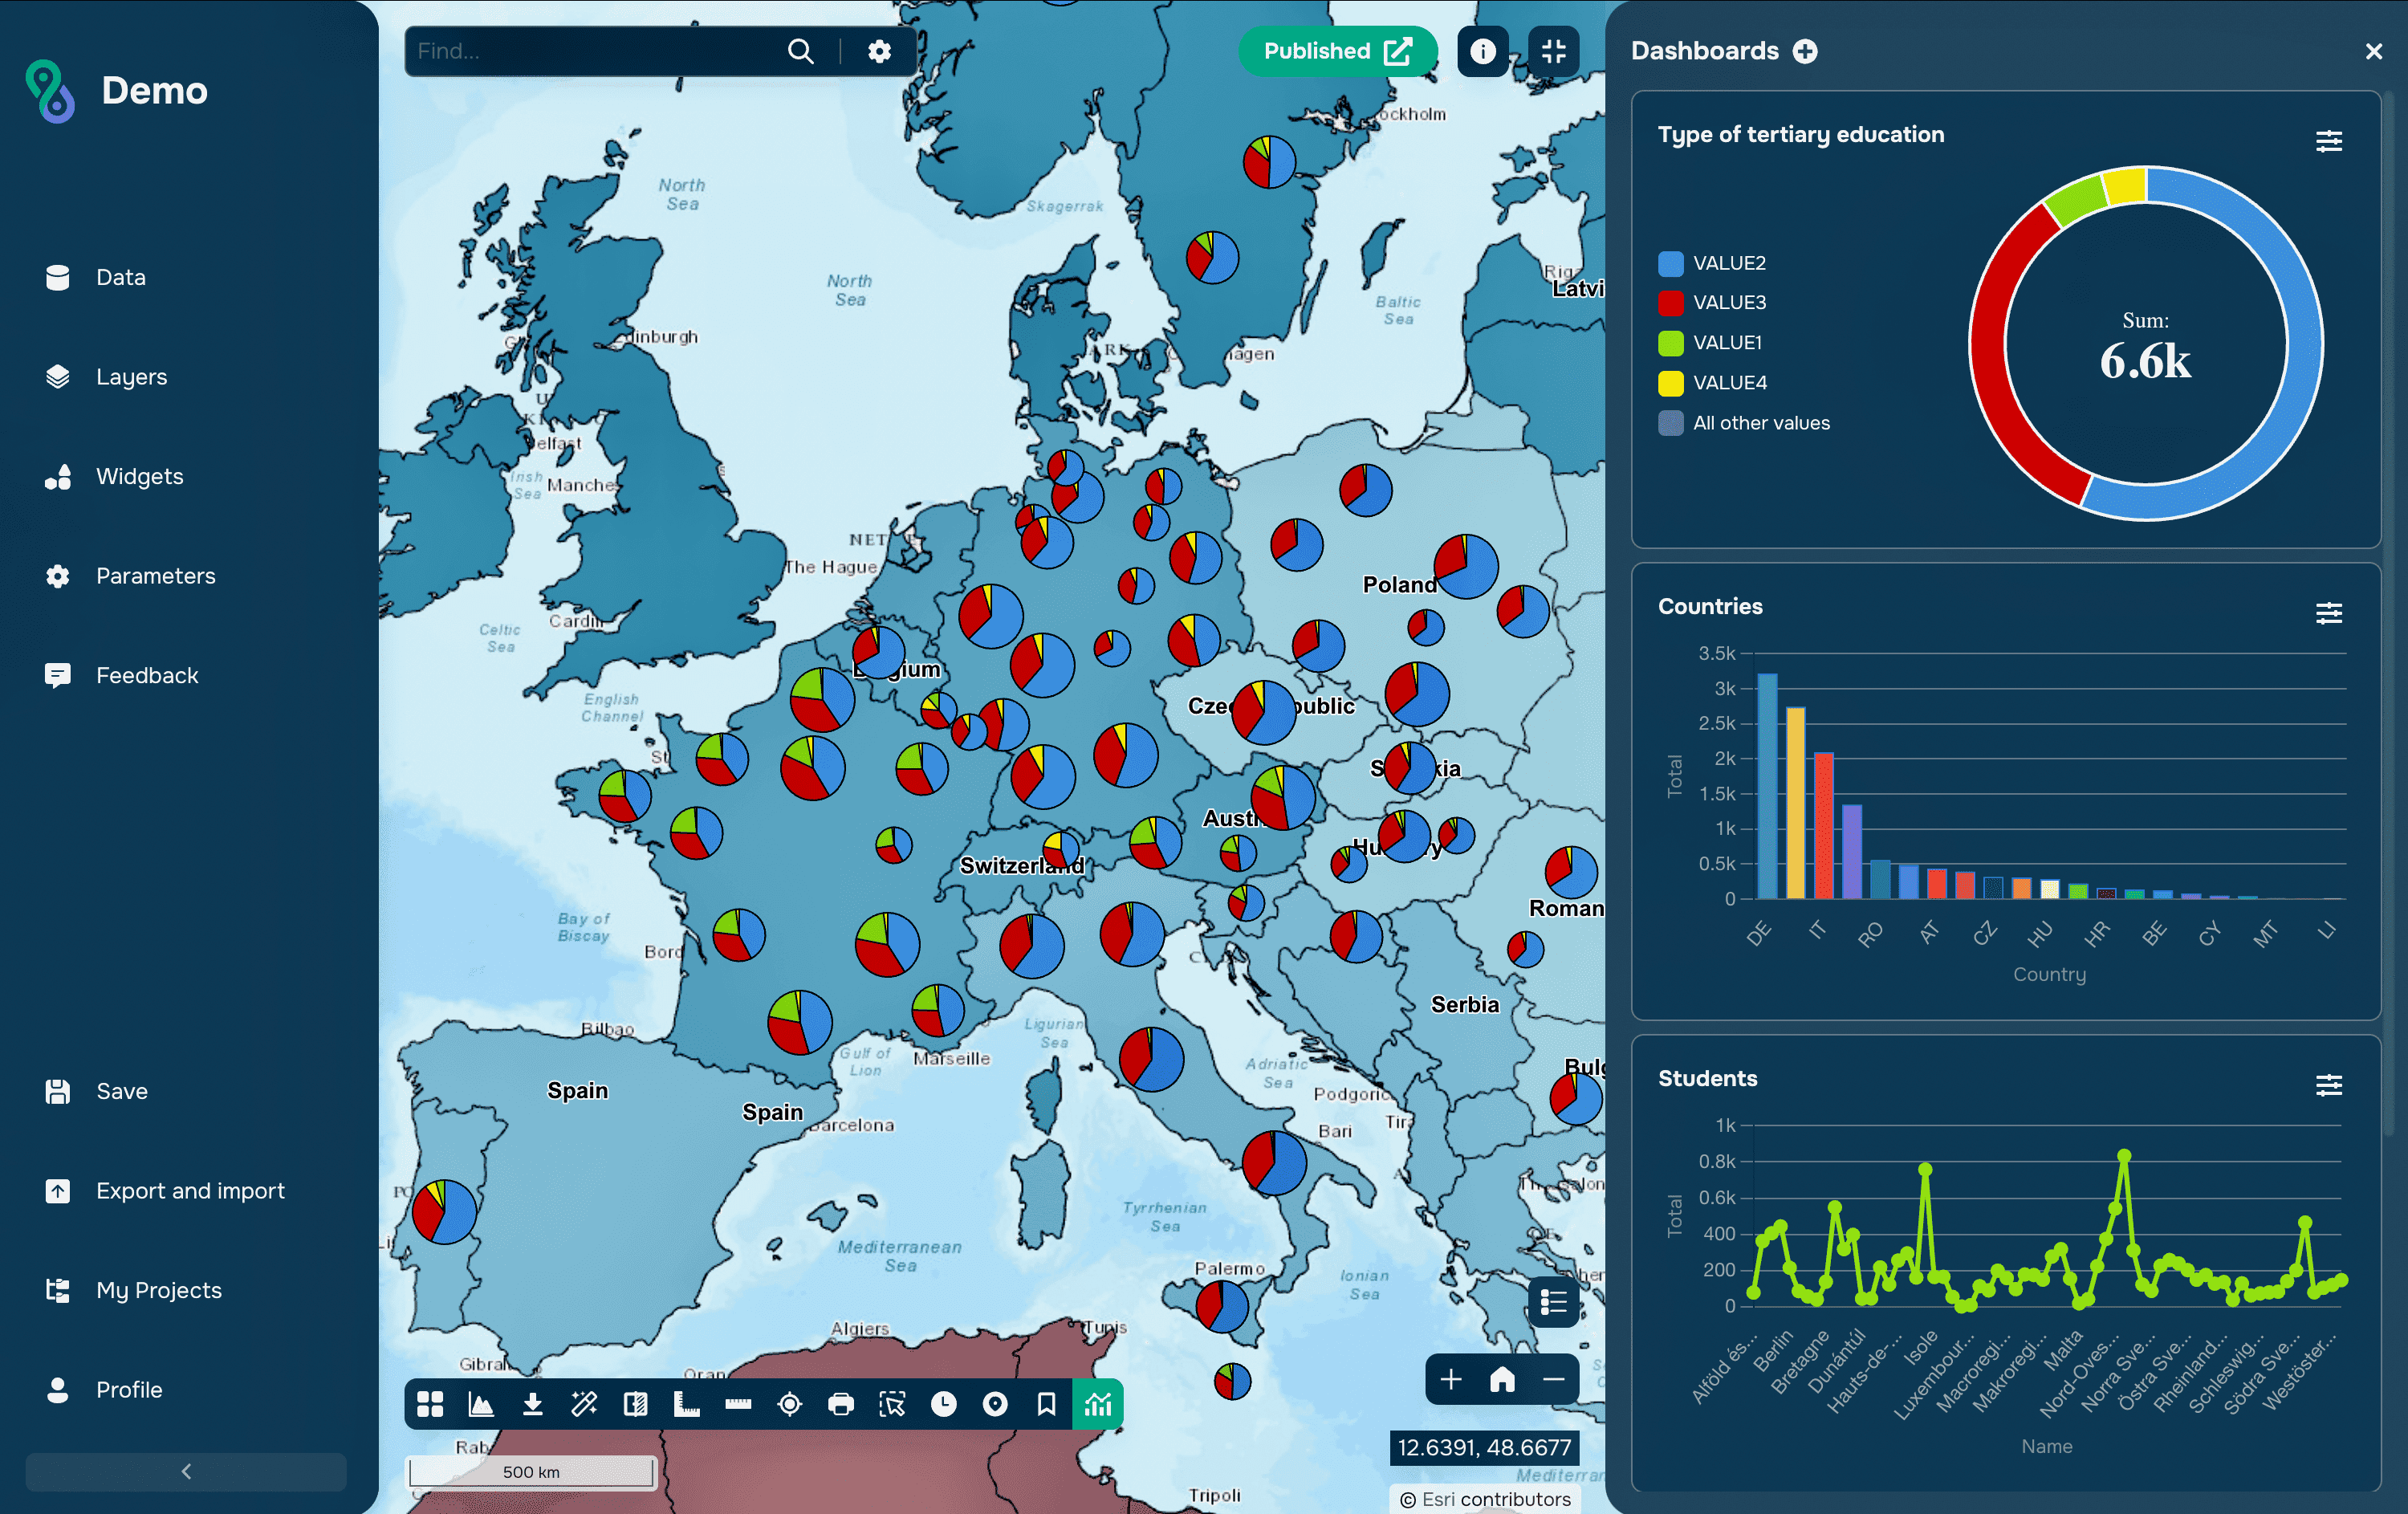
This plugin allows users to export data from QGIS directly to the GISCARTA platform. These can be vector, raster and in-memory layers.
Let's have a look at how to do it.
Step 1. Install the plugin in QGIS
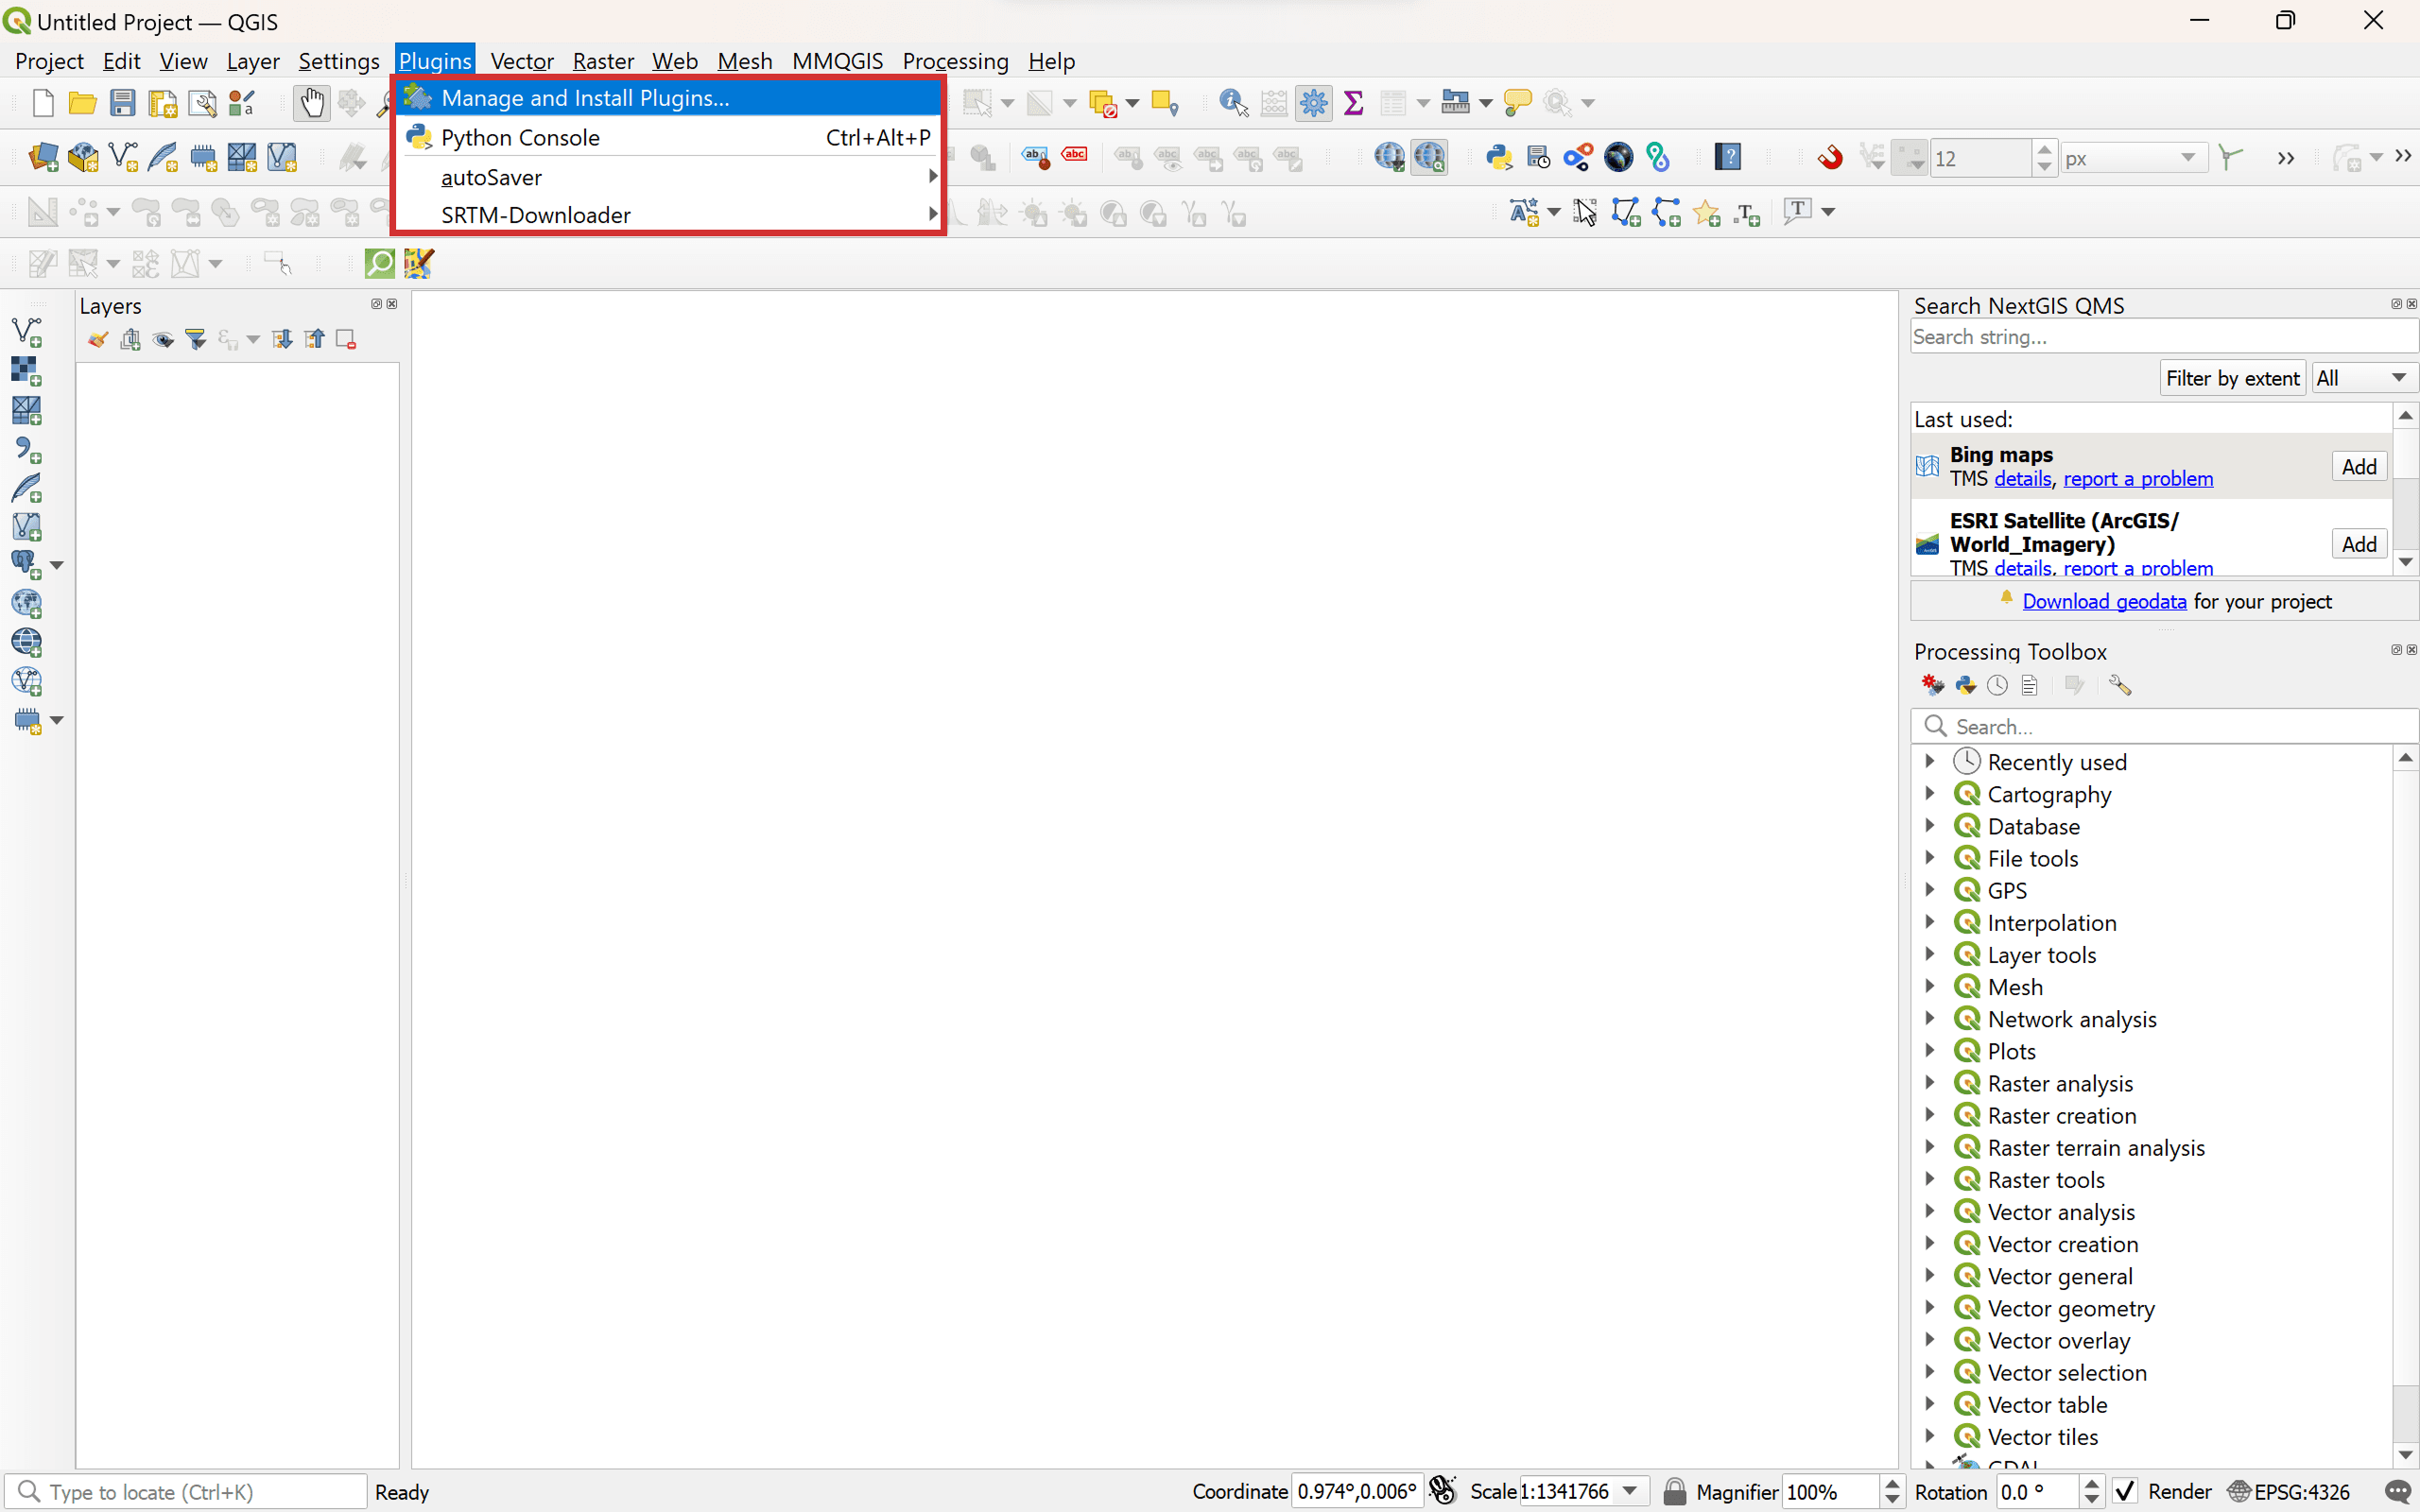
To do this, go to the Plugins section of the top menu bar. Then select Manage and Install plugins and search for GISCARTA.
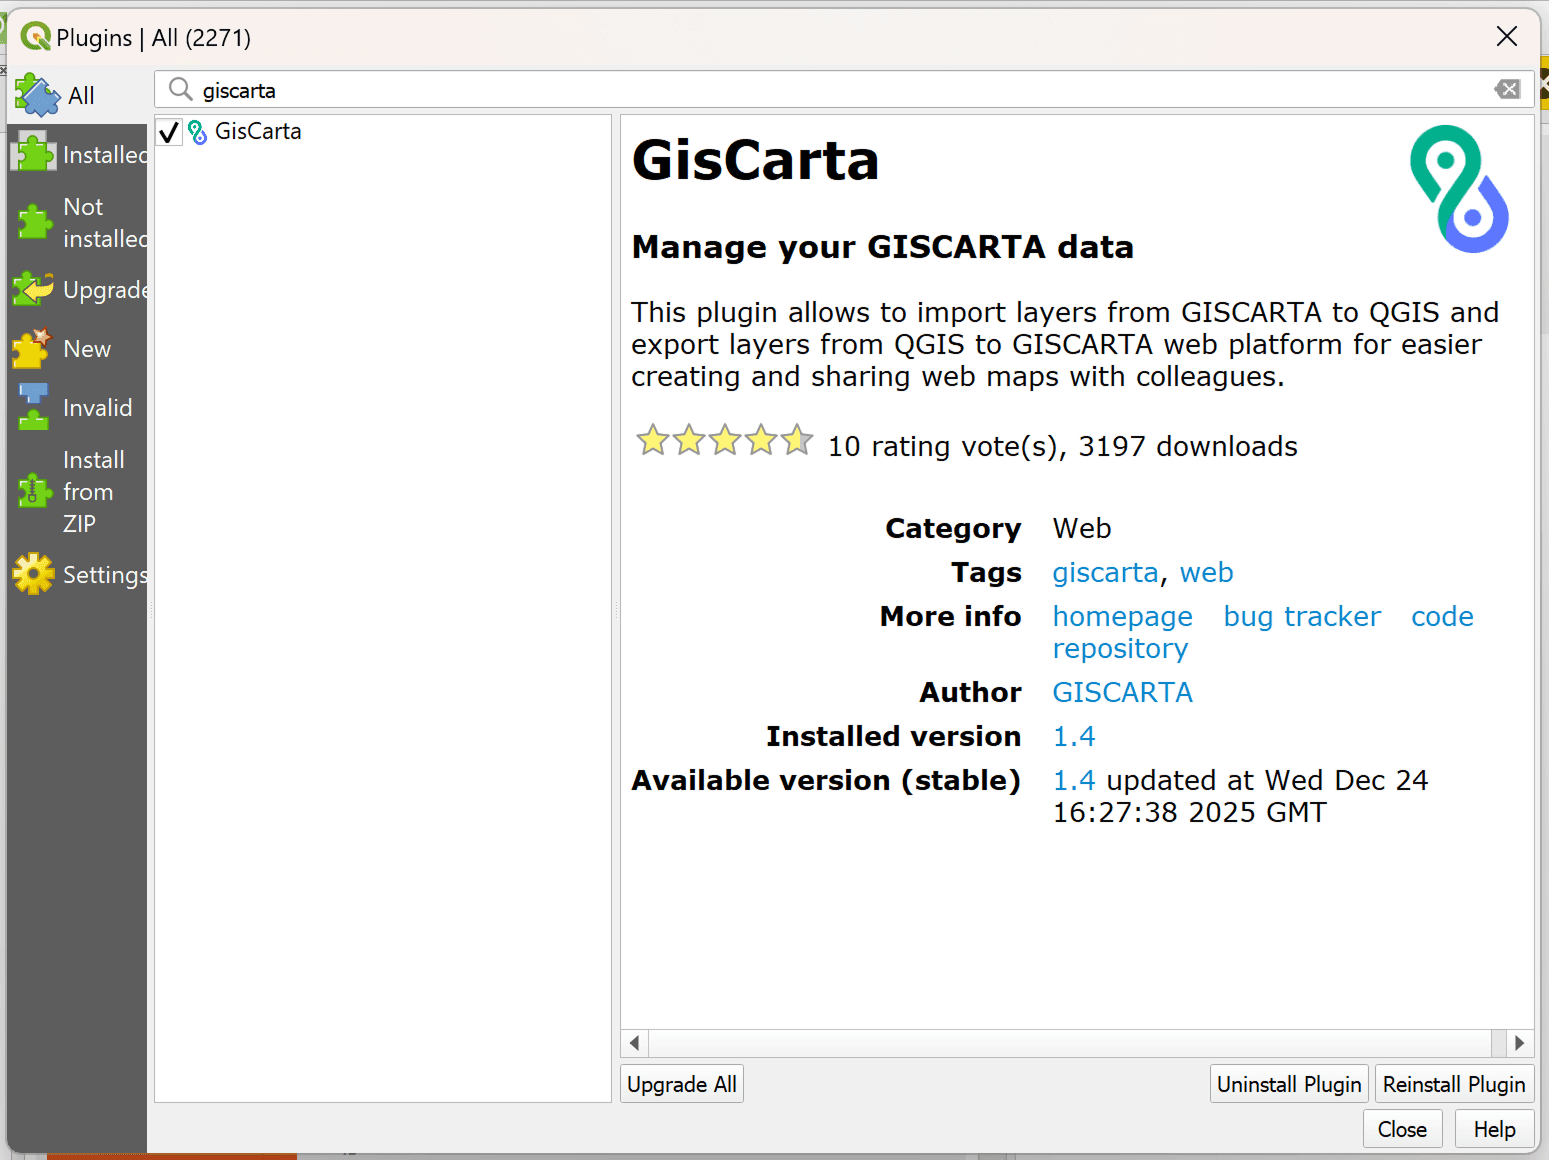
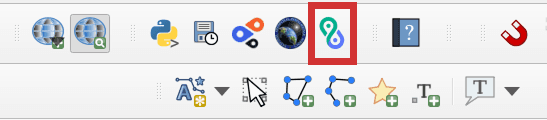
After installation, the plugin icon will appear in the Vector, Web sections and on the plugins panel.
Step 2. Log In
To log in to the plugin, you need to have an account on the GISCARTA platform and enter your login and password. Your plan can be anything from Basic to Pro.

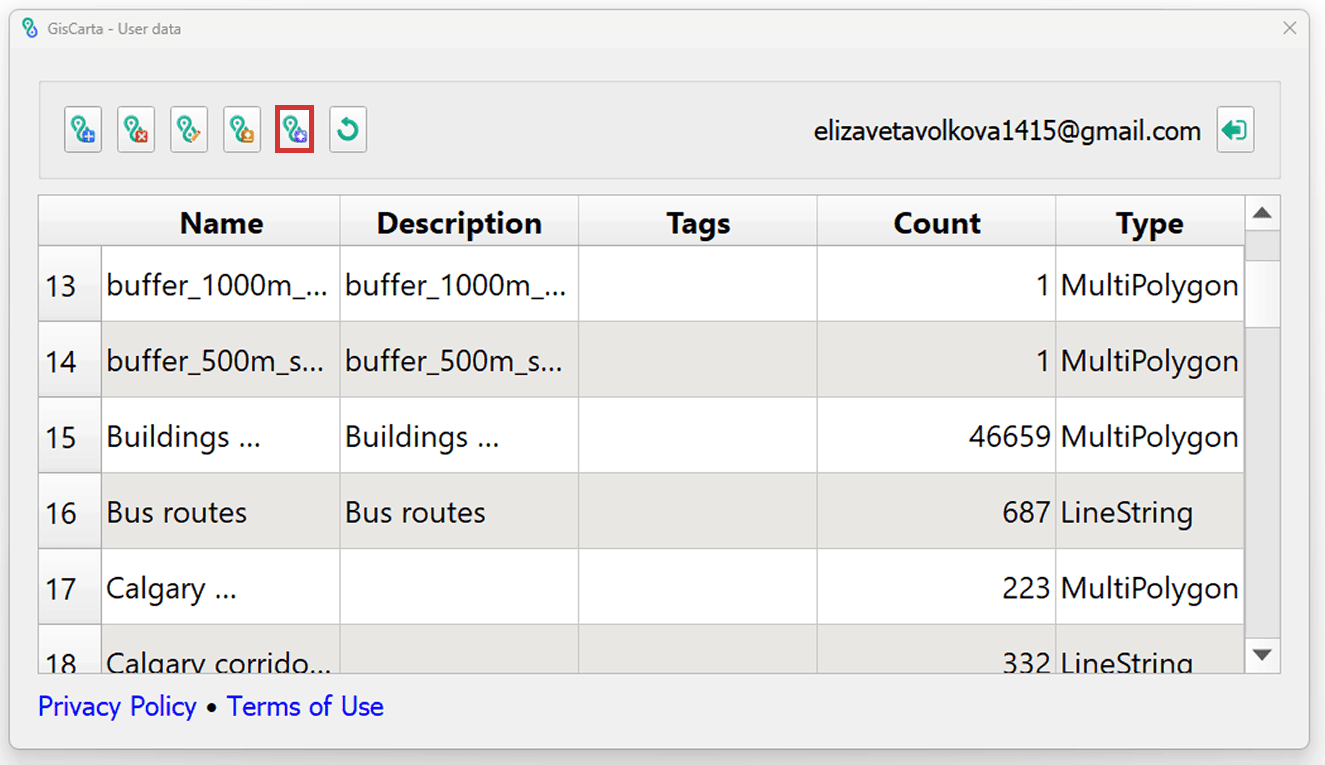
After successfully logging into the plugin, you will see a window with a list of layers available to your user on the portal.
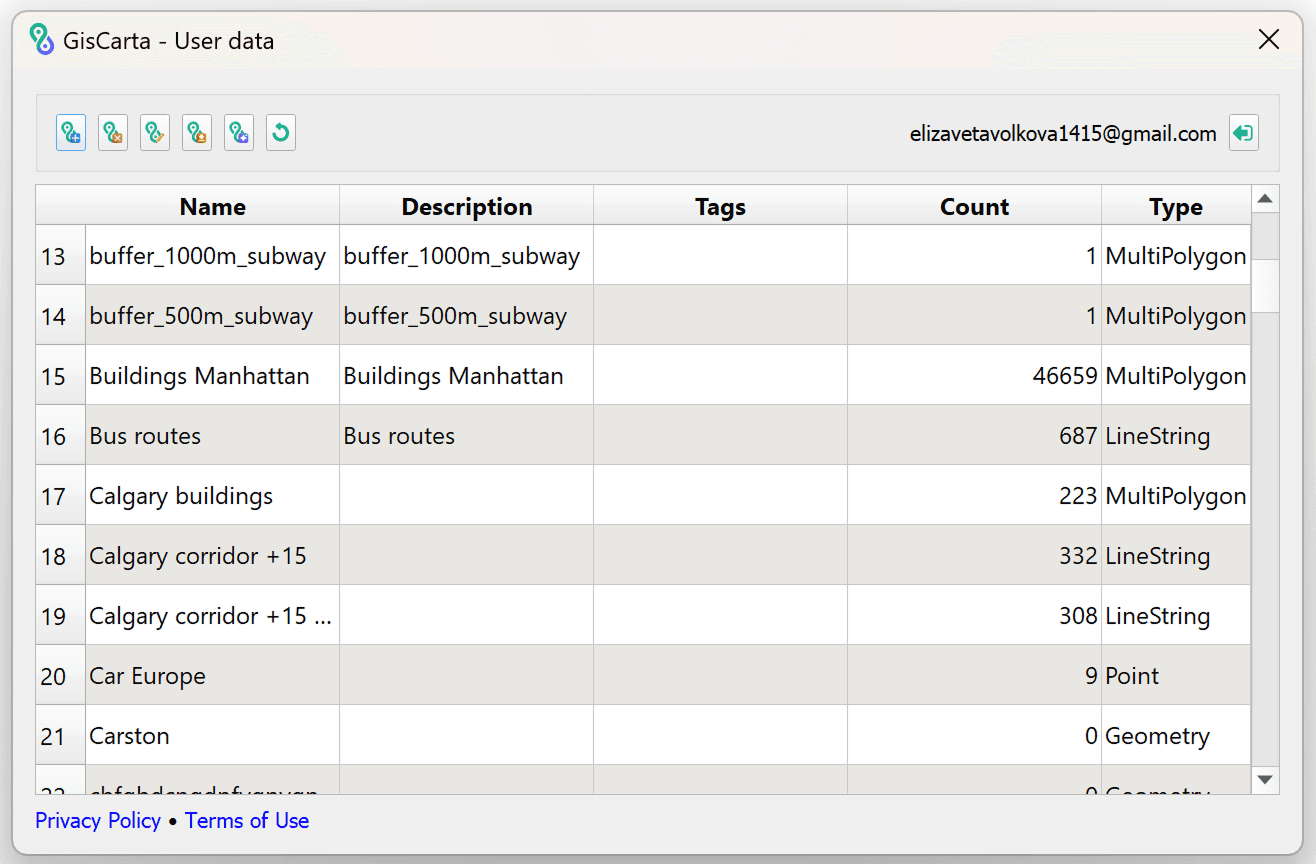
Step 3. Working with layers
Upload layer
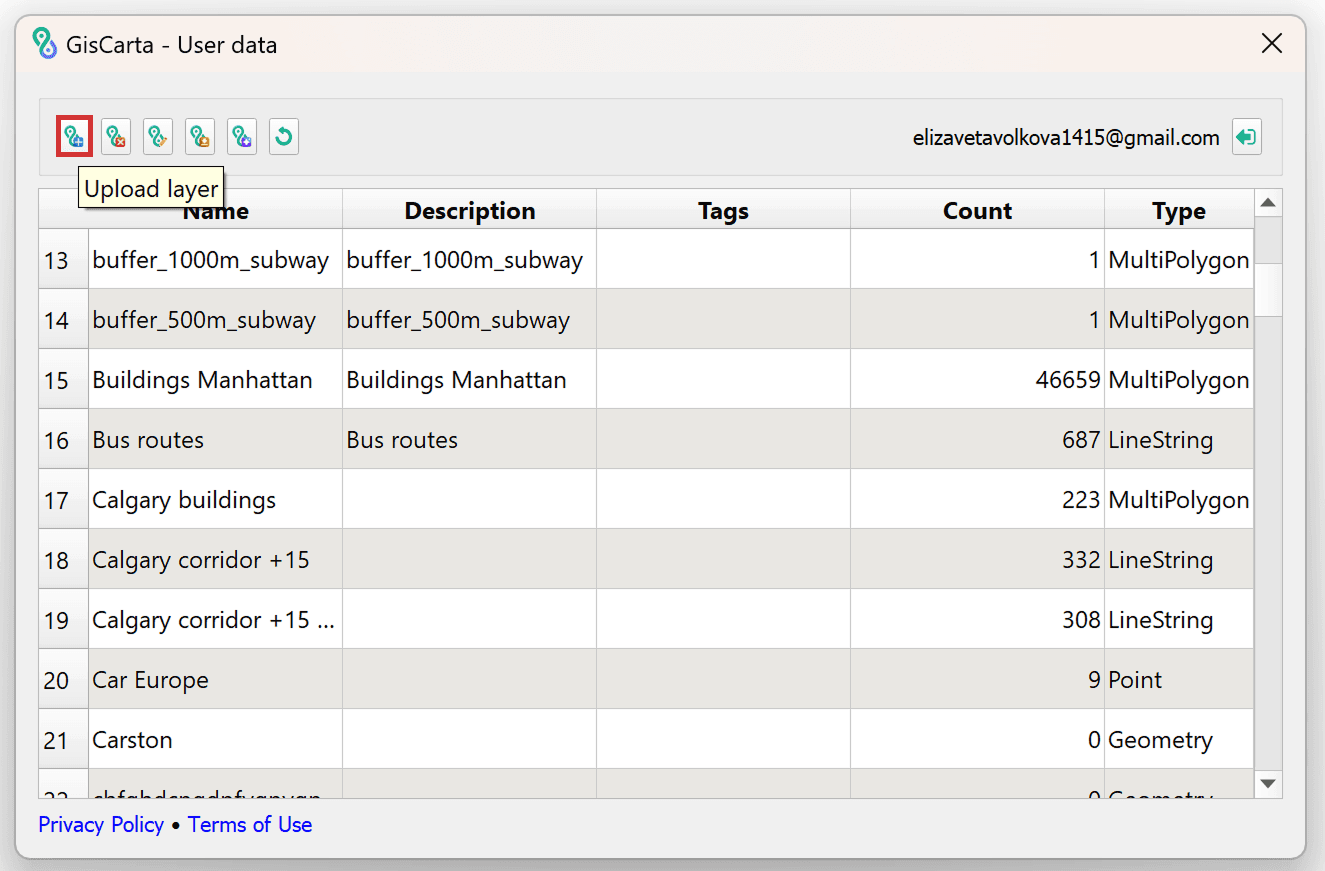
To upload a layer from a QGIS project to the platform, you must click the Upload data button in the upper left corner of the widget window.
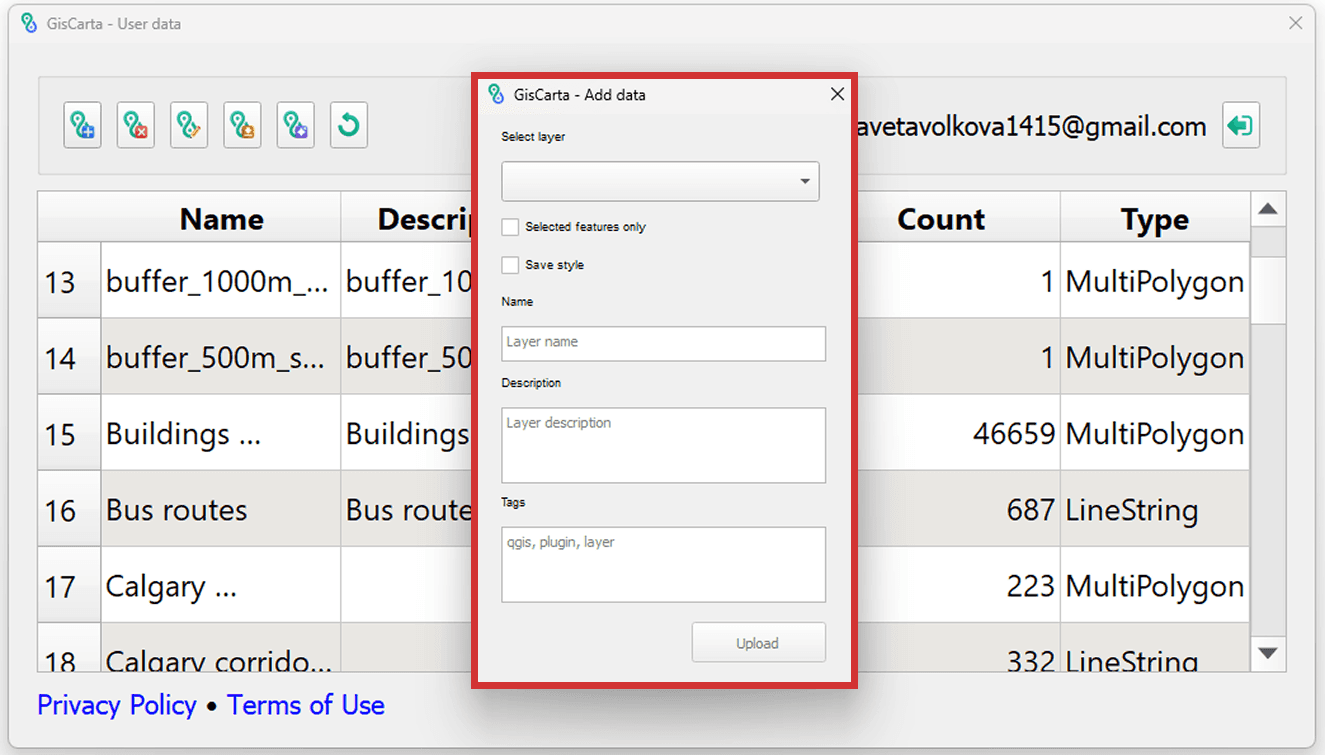
Next, in the pop-up window, select the layer you want to add, add a name for the layer, a description, and optional tags. You can also load only the selected layer objects and save the layer style settings.
More details about loading a layer via a plugin can be found on our YouTube channel.
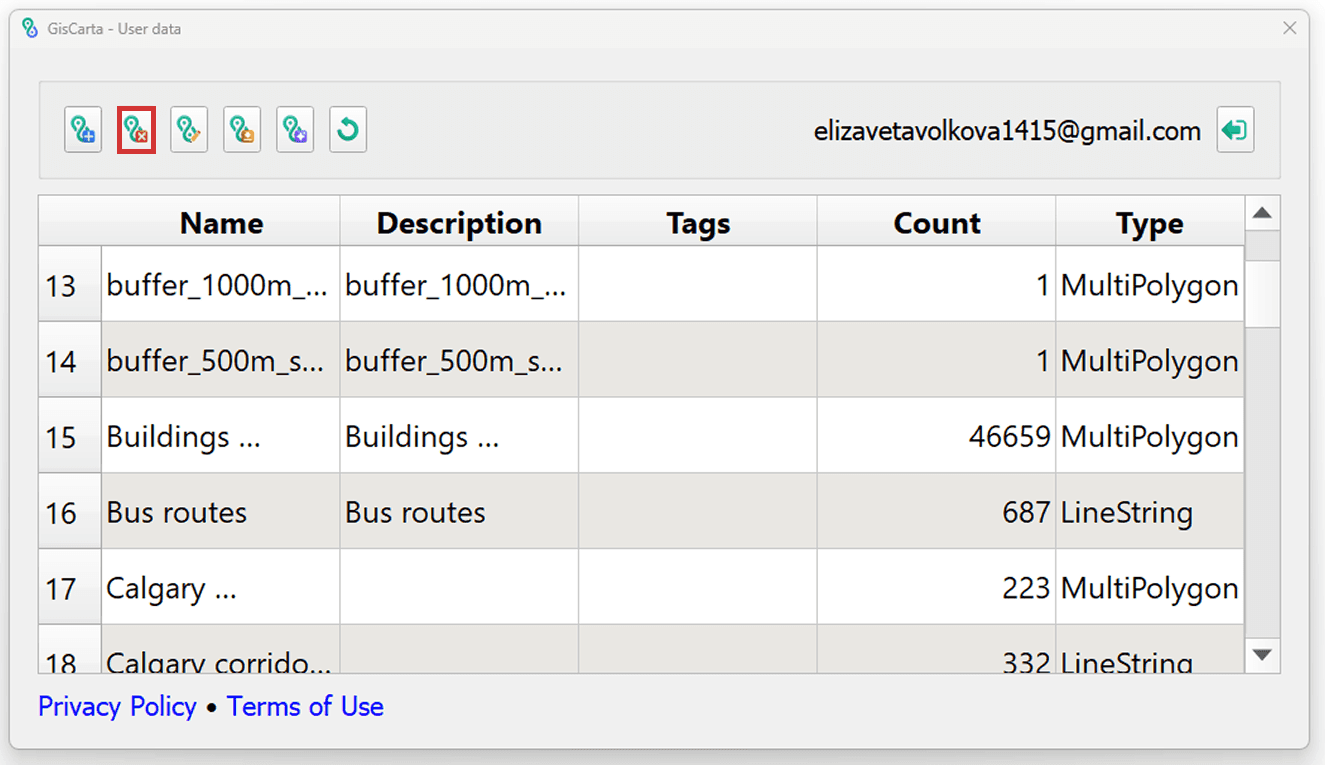
Remove selected layers
To remove a selected layer from the platform's data storage, select the Remove selected layers button.
Edit selected layers
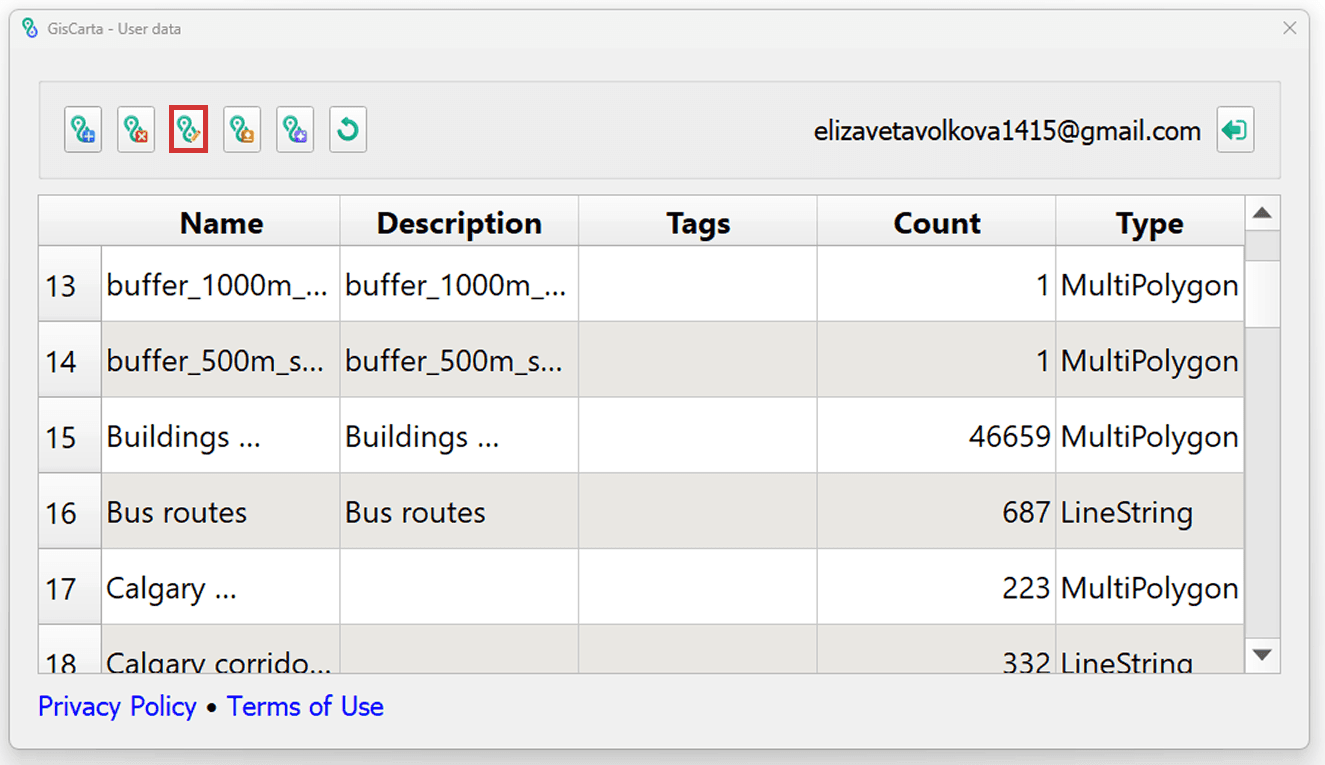
To update an existing layer on the GISCARTA platform, select a row in the layer list by clicking on the row number. Then click the Edit selected layers icon, third from the left.
After this, a pop-up window will appear with layer editing settings.
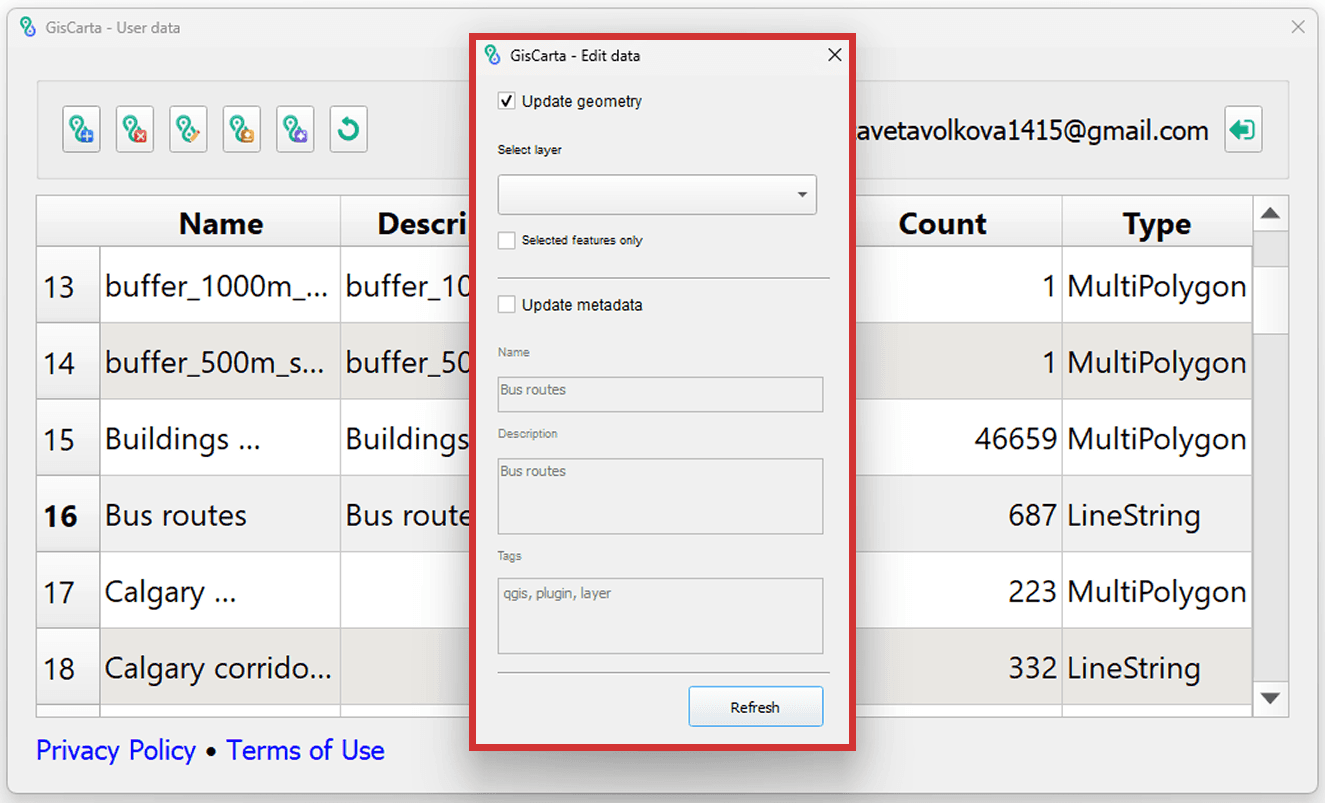
In this window, the user can update the layer's geometry or metadata.
To update the layer's geometry, check the Update Geometry checkbox and select the layer whose geometry will be used to update the layer in the GISCARTA platform. You can also check the Only Selected Features checkbox to use only the selected features in QGIS.
To update the layer's metadata, check the Update Metadata checkbox and fill in the Layer Name, Layer Description and Tags fields.
Then you need to click the Refresh button
Import selected layers
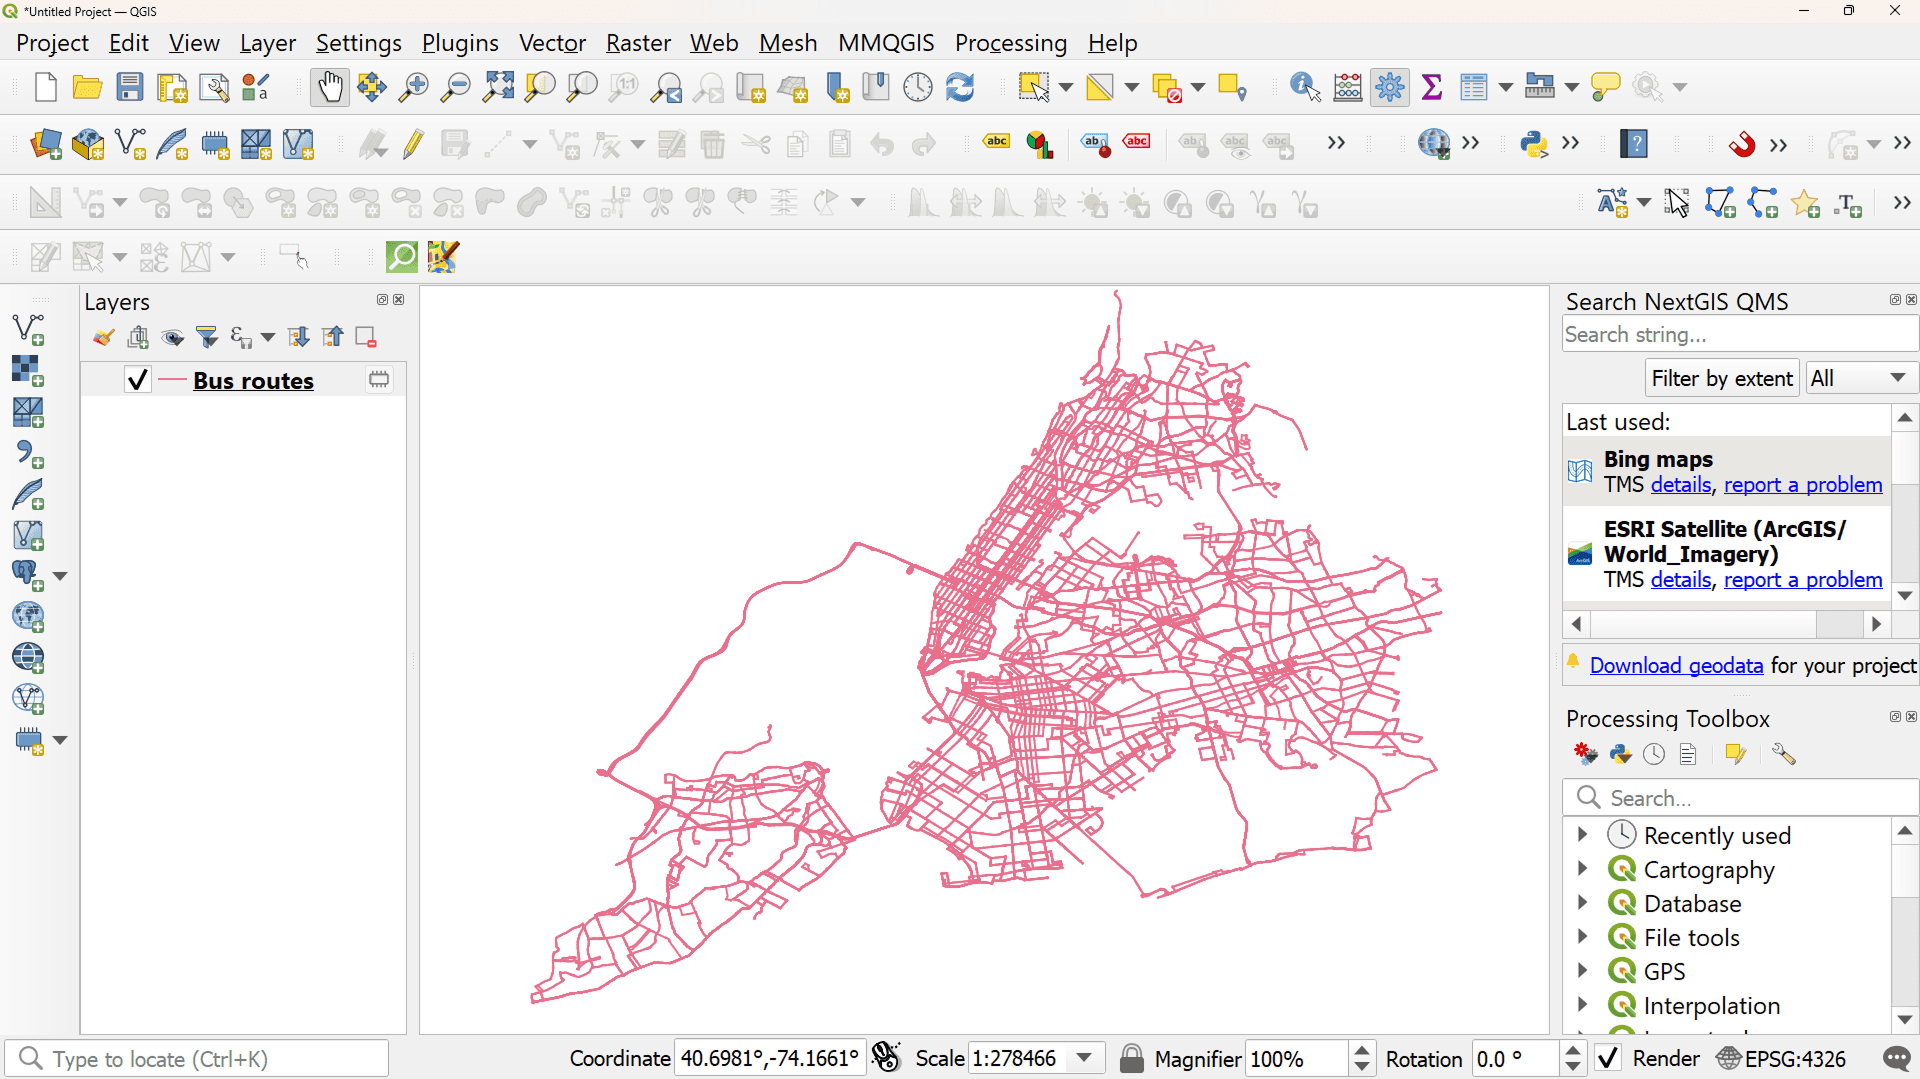
To add a layer from the platform to a QGIS project, you need to select the required layer in the data list, then click the Import selected layers button.
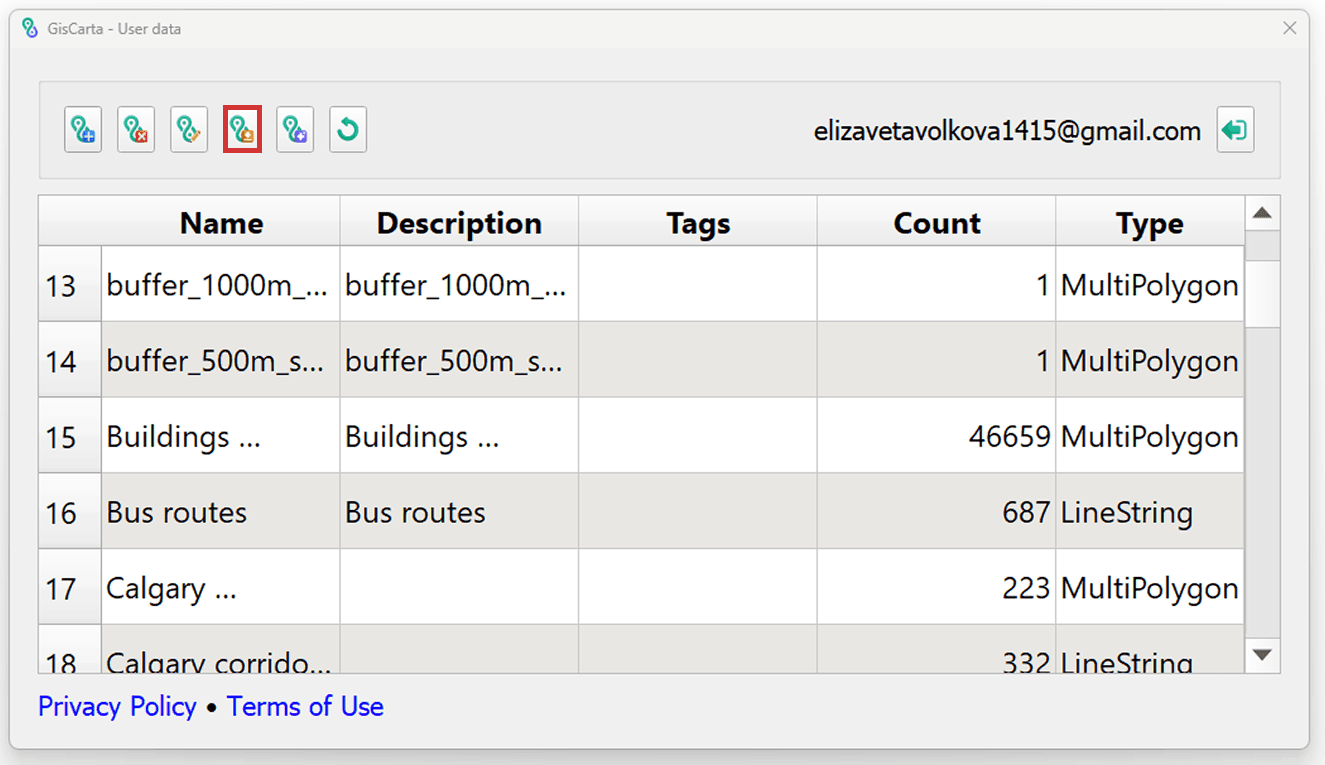
The layer will be added to the project as a temporary data source with the ability to edit and save.
Geodata AI
More information about the Geodata AI widget can be found here and our YouTube channel.
To download data using the Geodata AI widget, select the Geo AI button fifth from the left.
Next, enter a text query, such as "berlin bars" and click the Download button.

If the layer is loaded successfully, it will be added to the project as a temporary data source that can be edited and saved.
You can find more detailed information about how the plugin works in the docs.