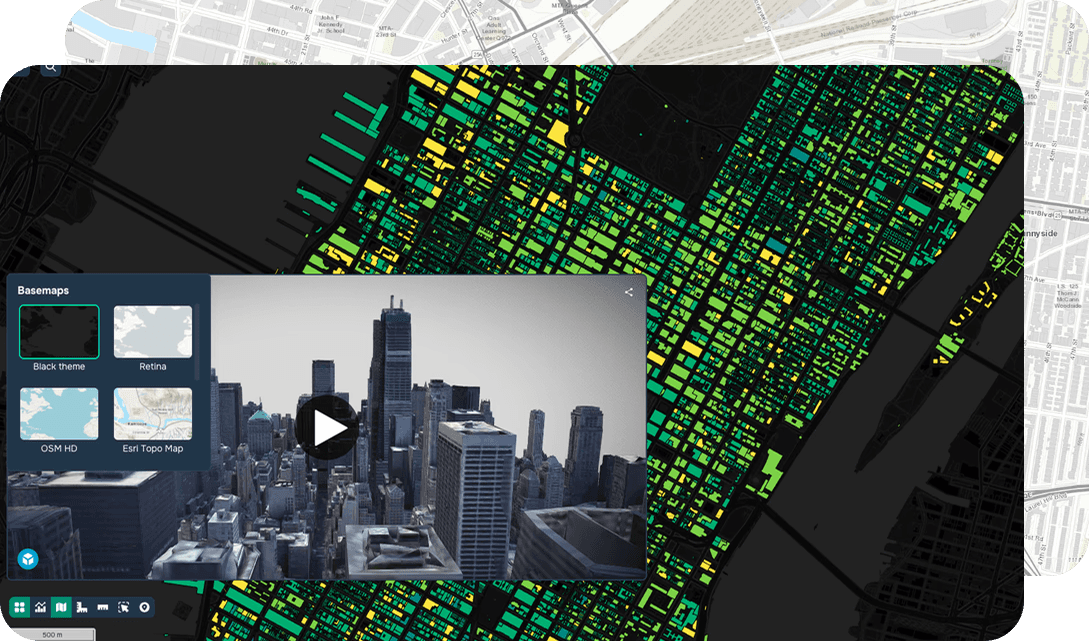
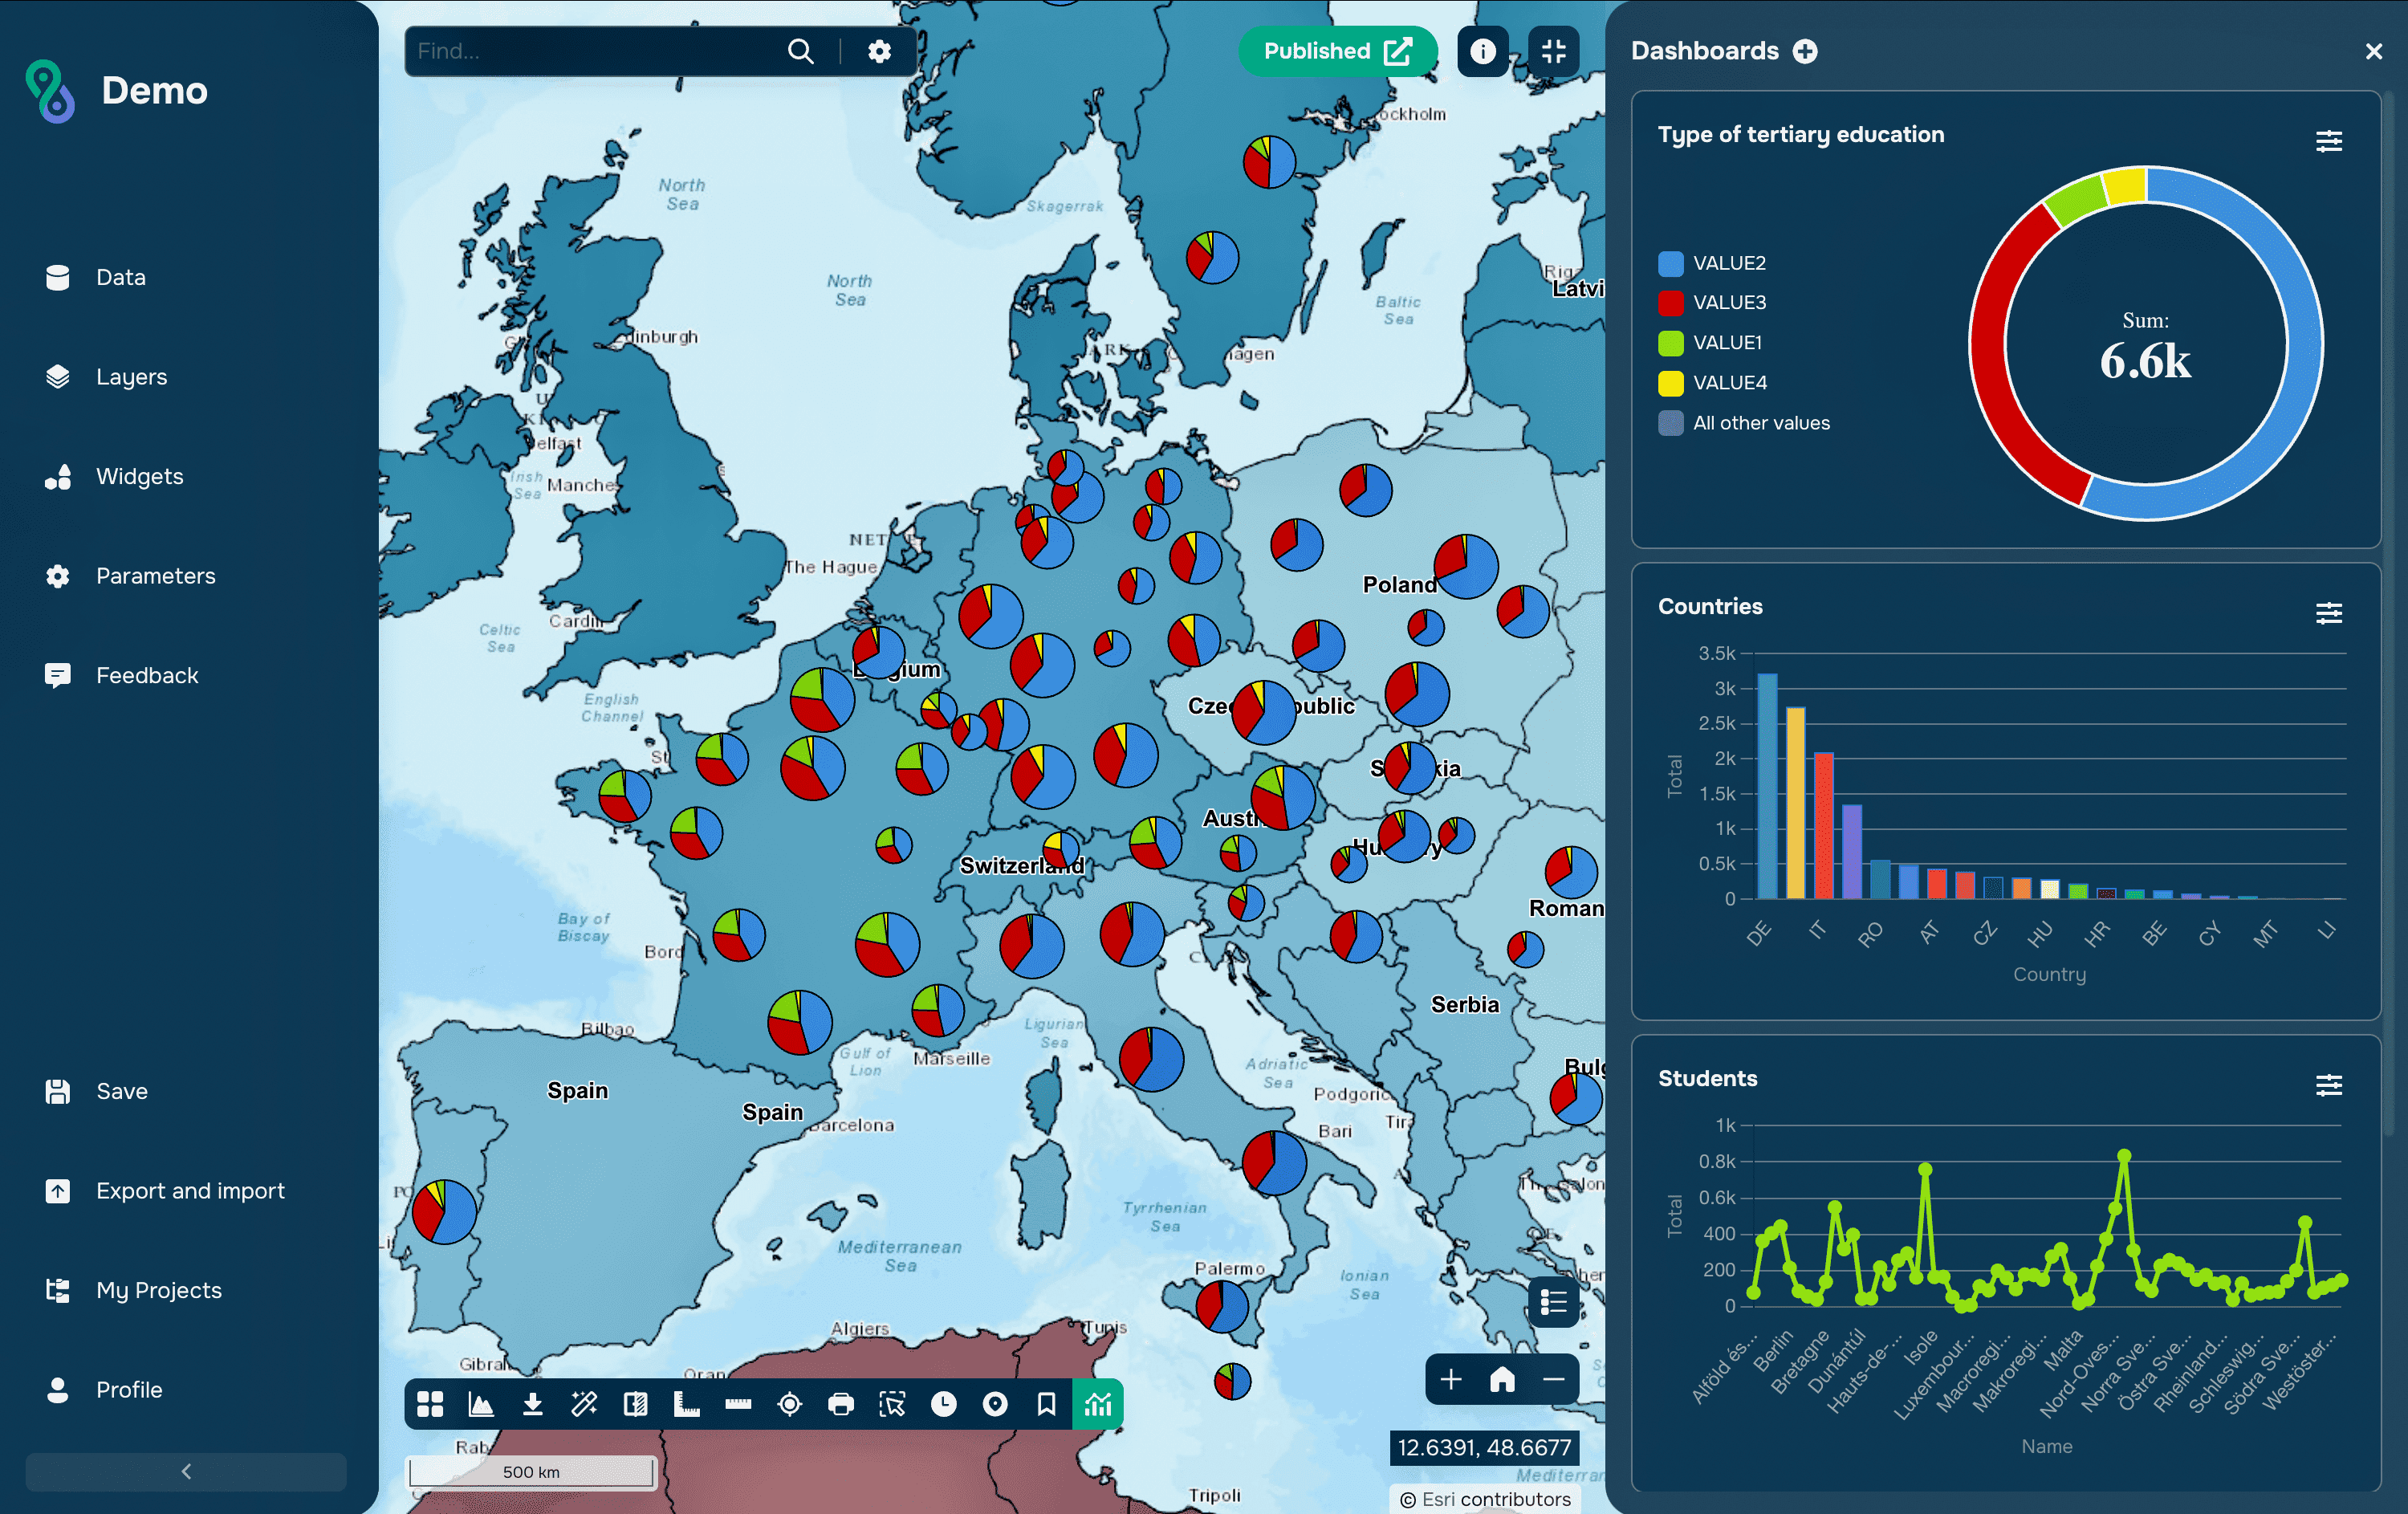
GISCARTA allows you to upload data to the platform in the following geodata formats:
Vector
ZIP archive with SHP file
Geopackage
GeoJSON
ArcGIS JSON
KML/KMZ
XLSX
CSV
GPX
Raster
TIFF/GeoTIFF
Point clouds
LAZ
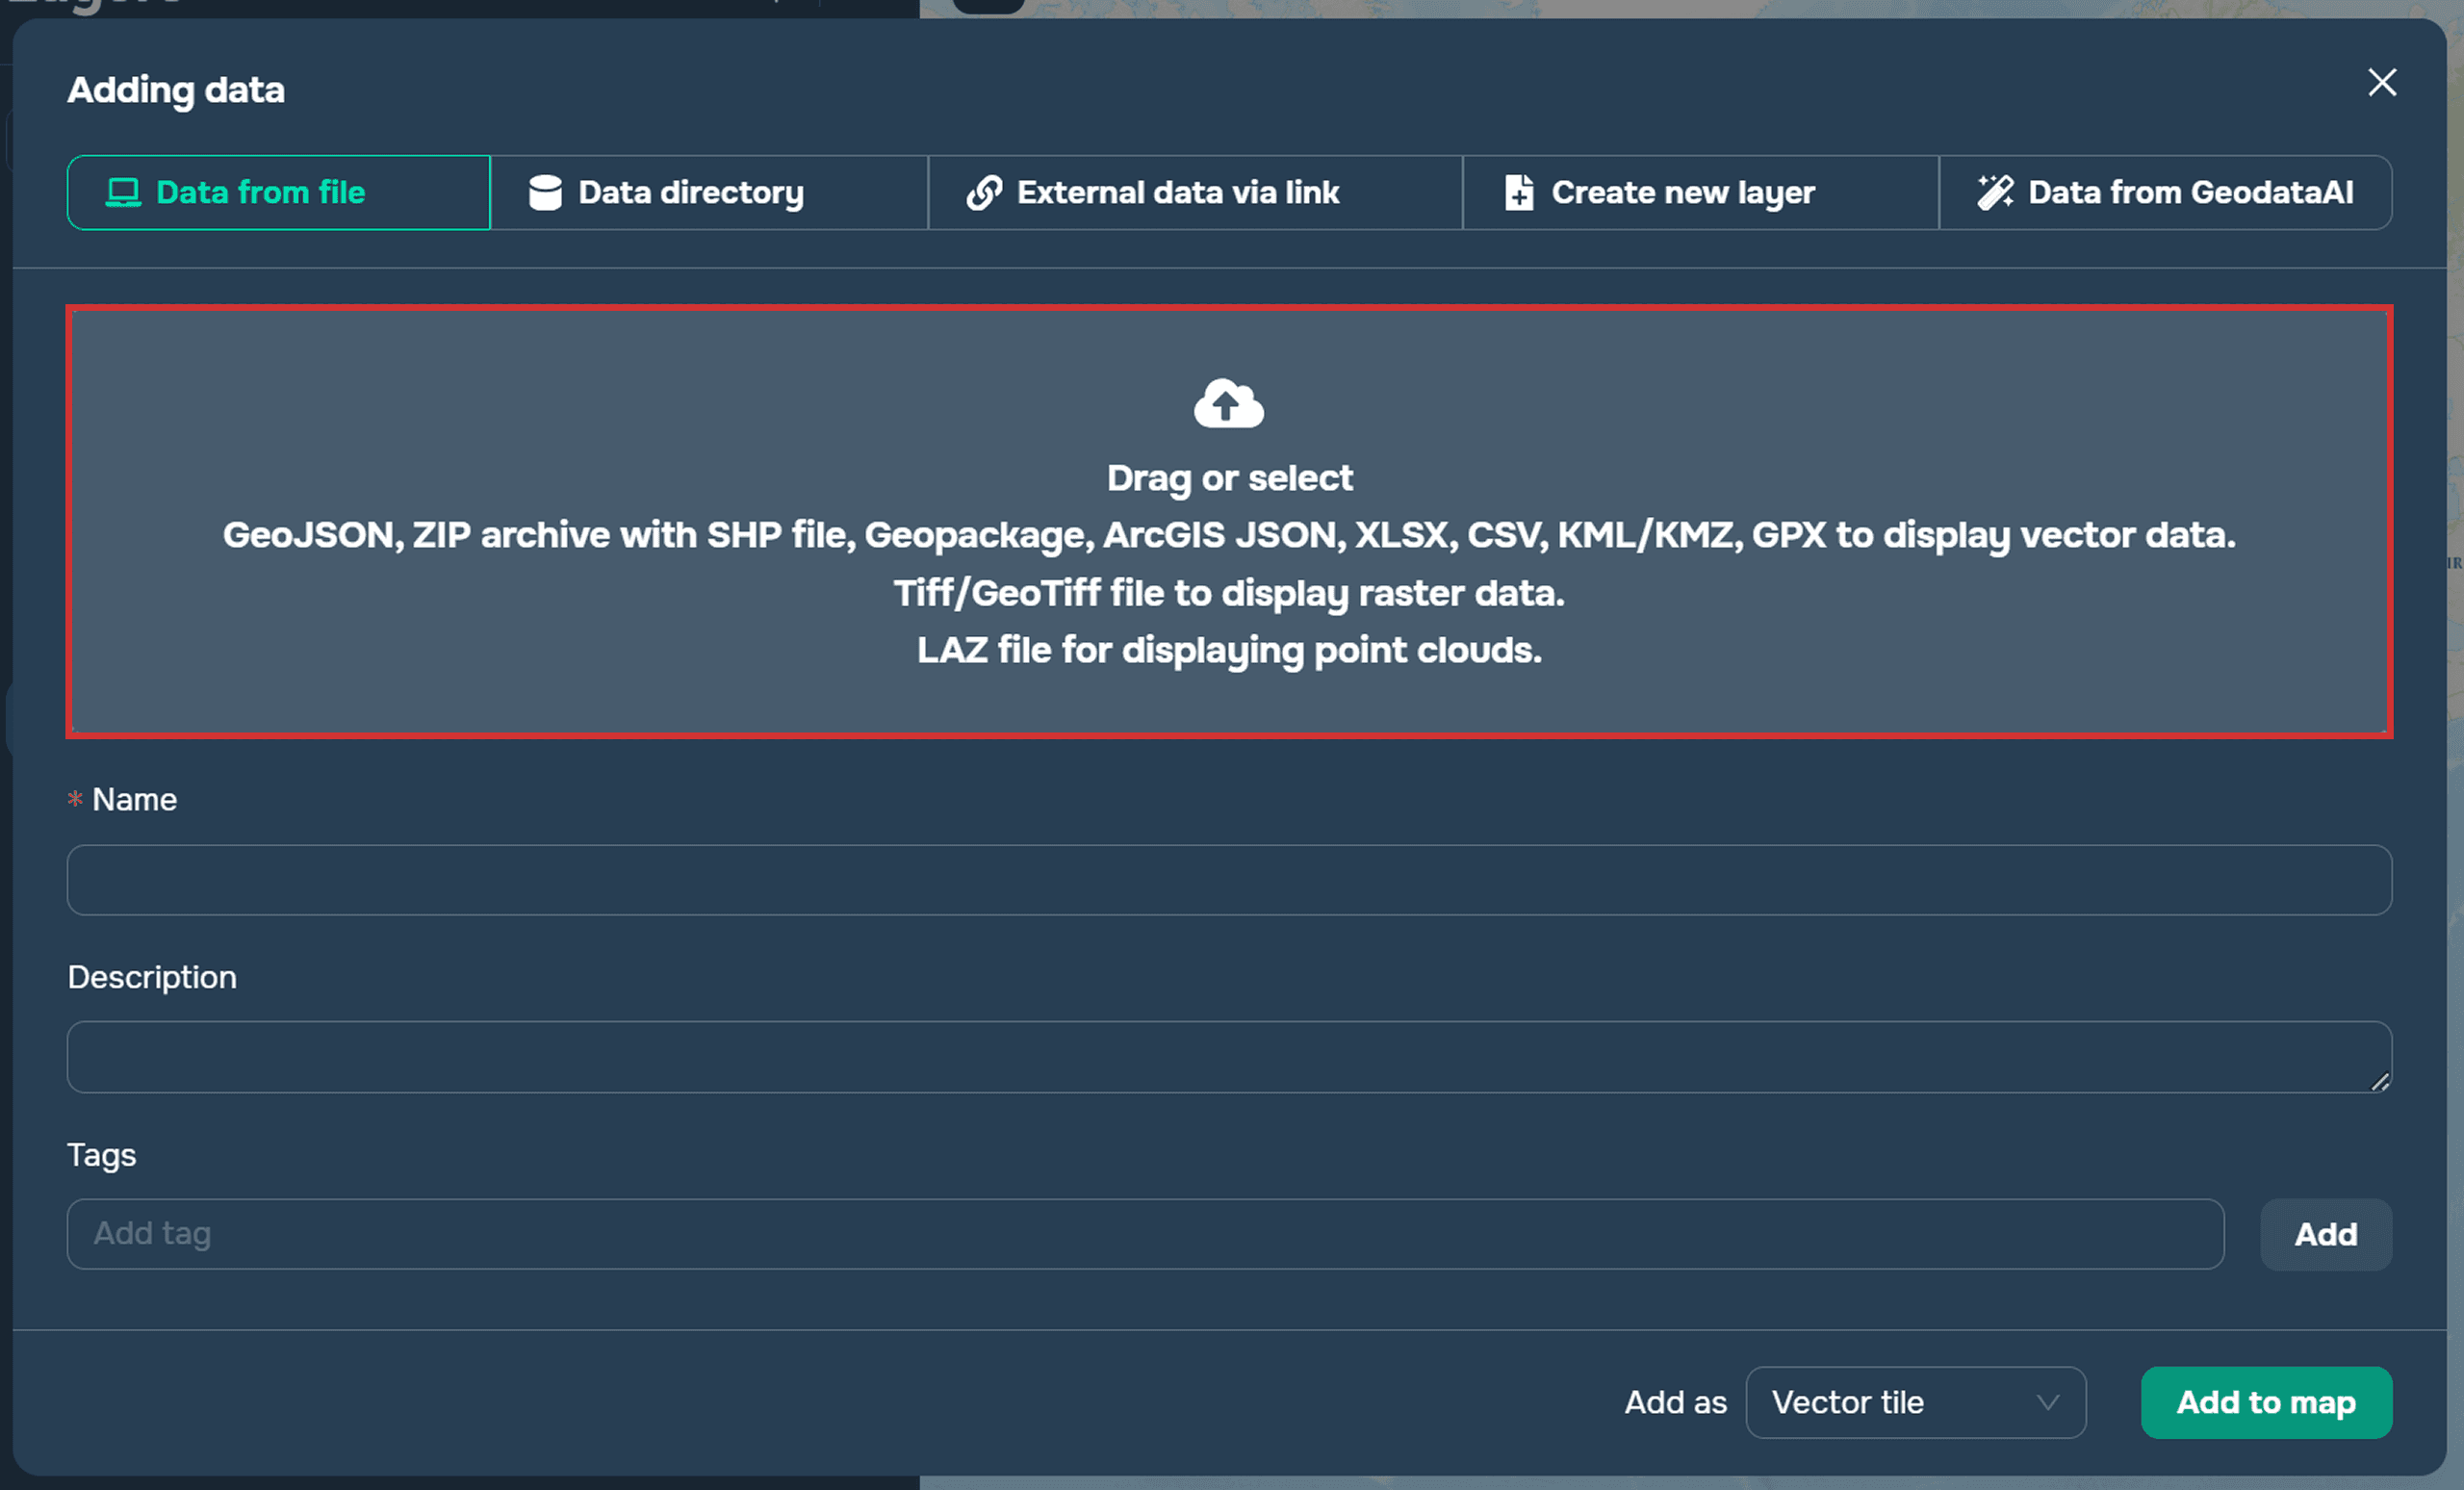
There are five ways to add data on the platform:
data from file
data directory
external data via link
create new layer
via a QGIS plugin
Method 1: Data from file
If you haven't created a project yet, you can add data through the Data Sources section.
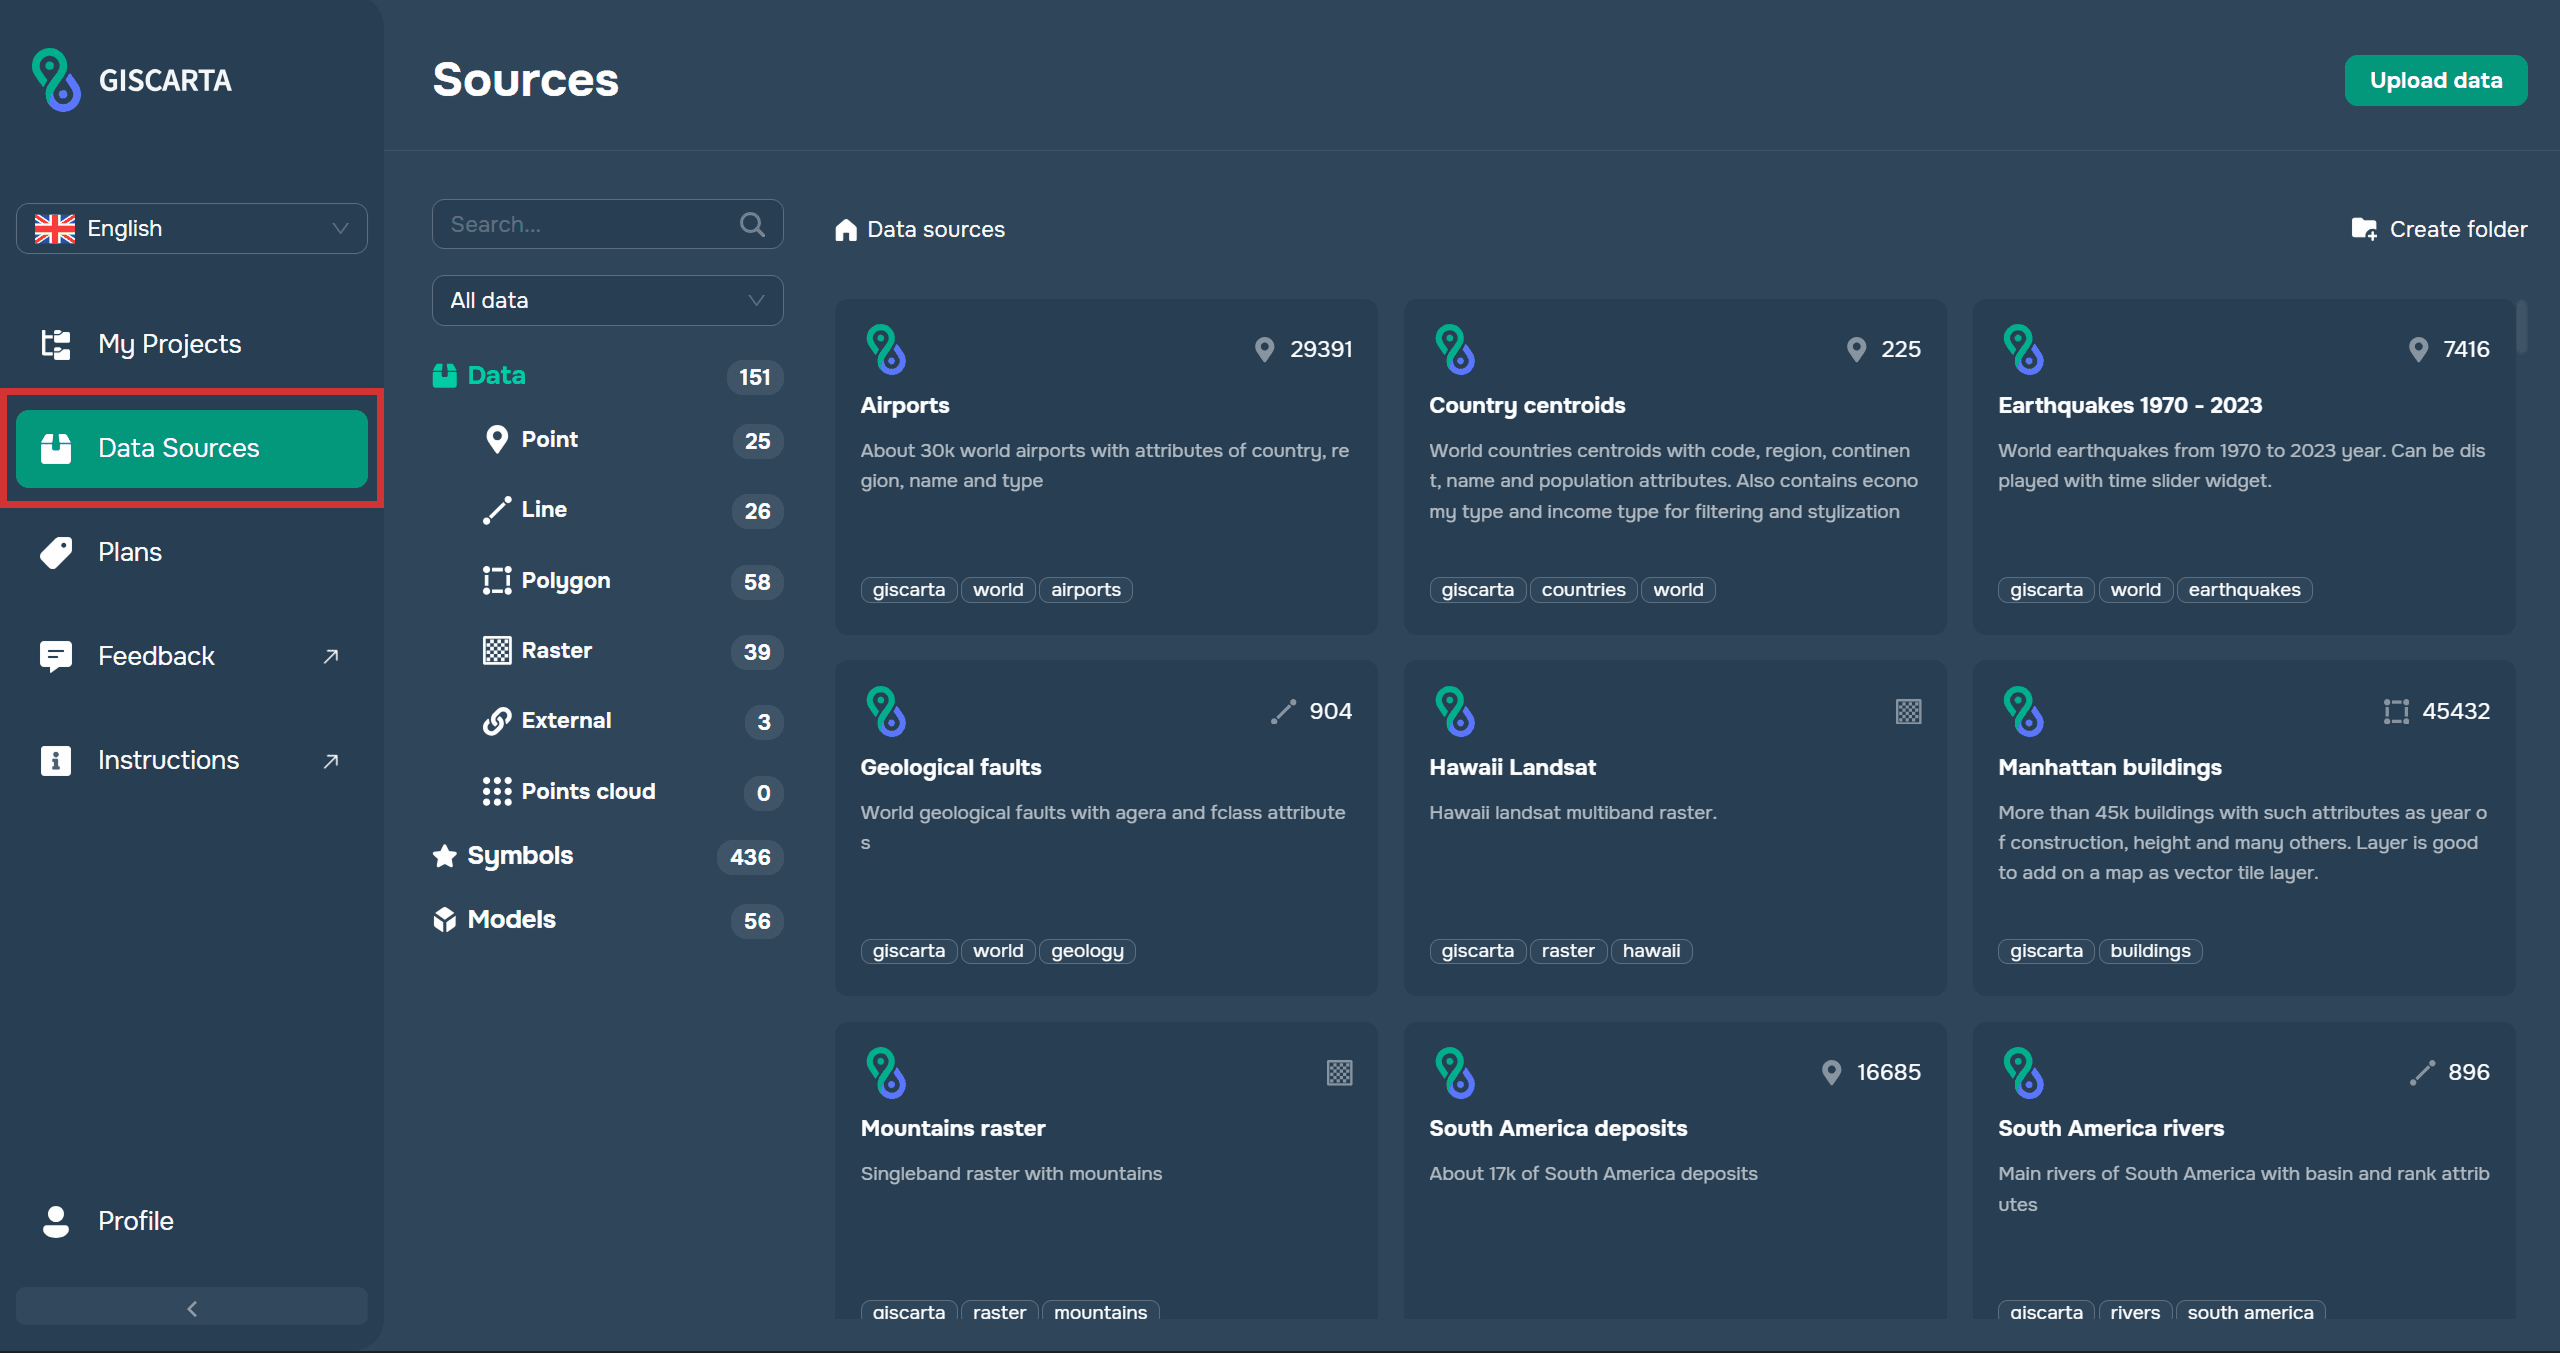
This section will contain ready-made datasets from GISCARTA and your own added data (if you've already uploaded it). For convenience, you can filter the data by name, tags, source, and type.
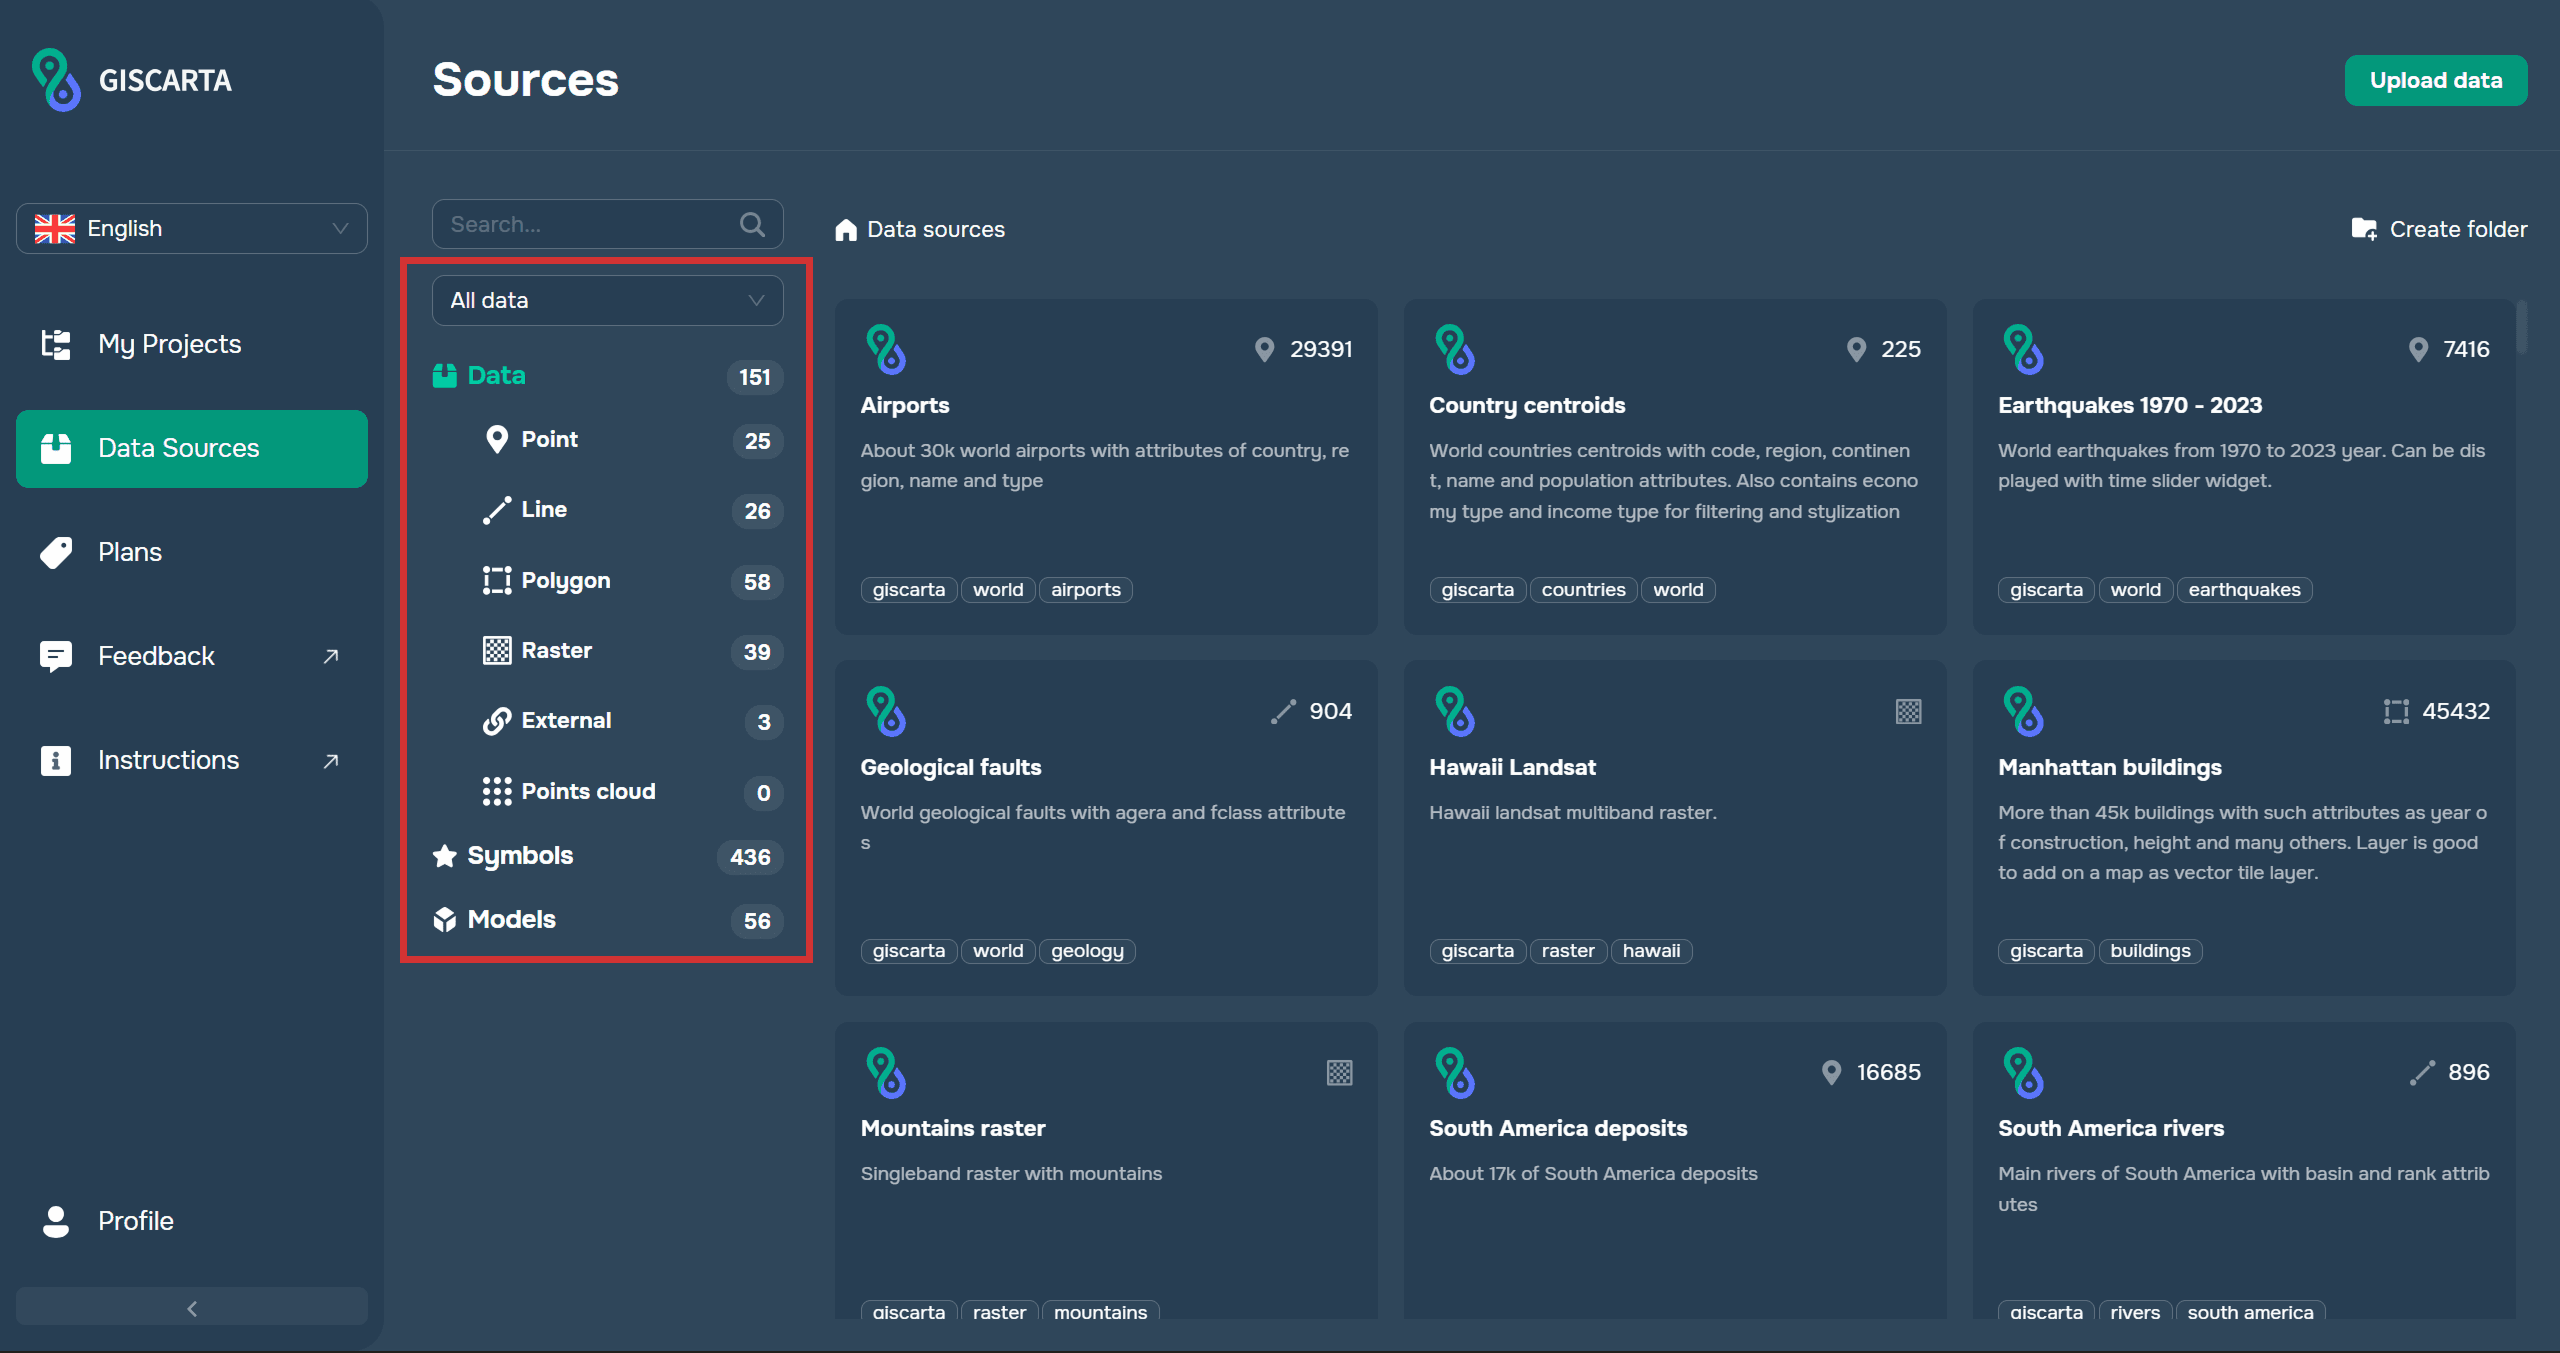
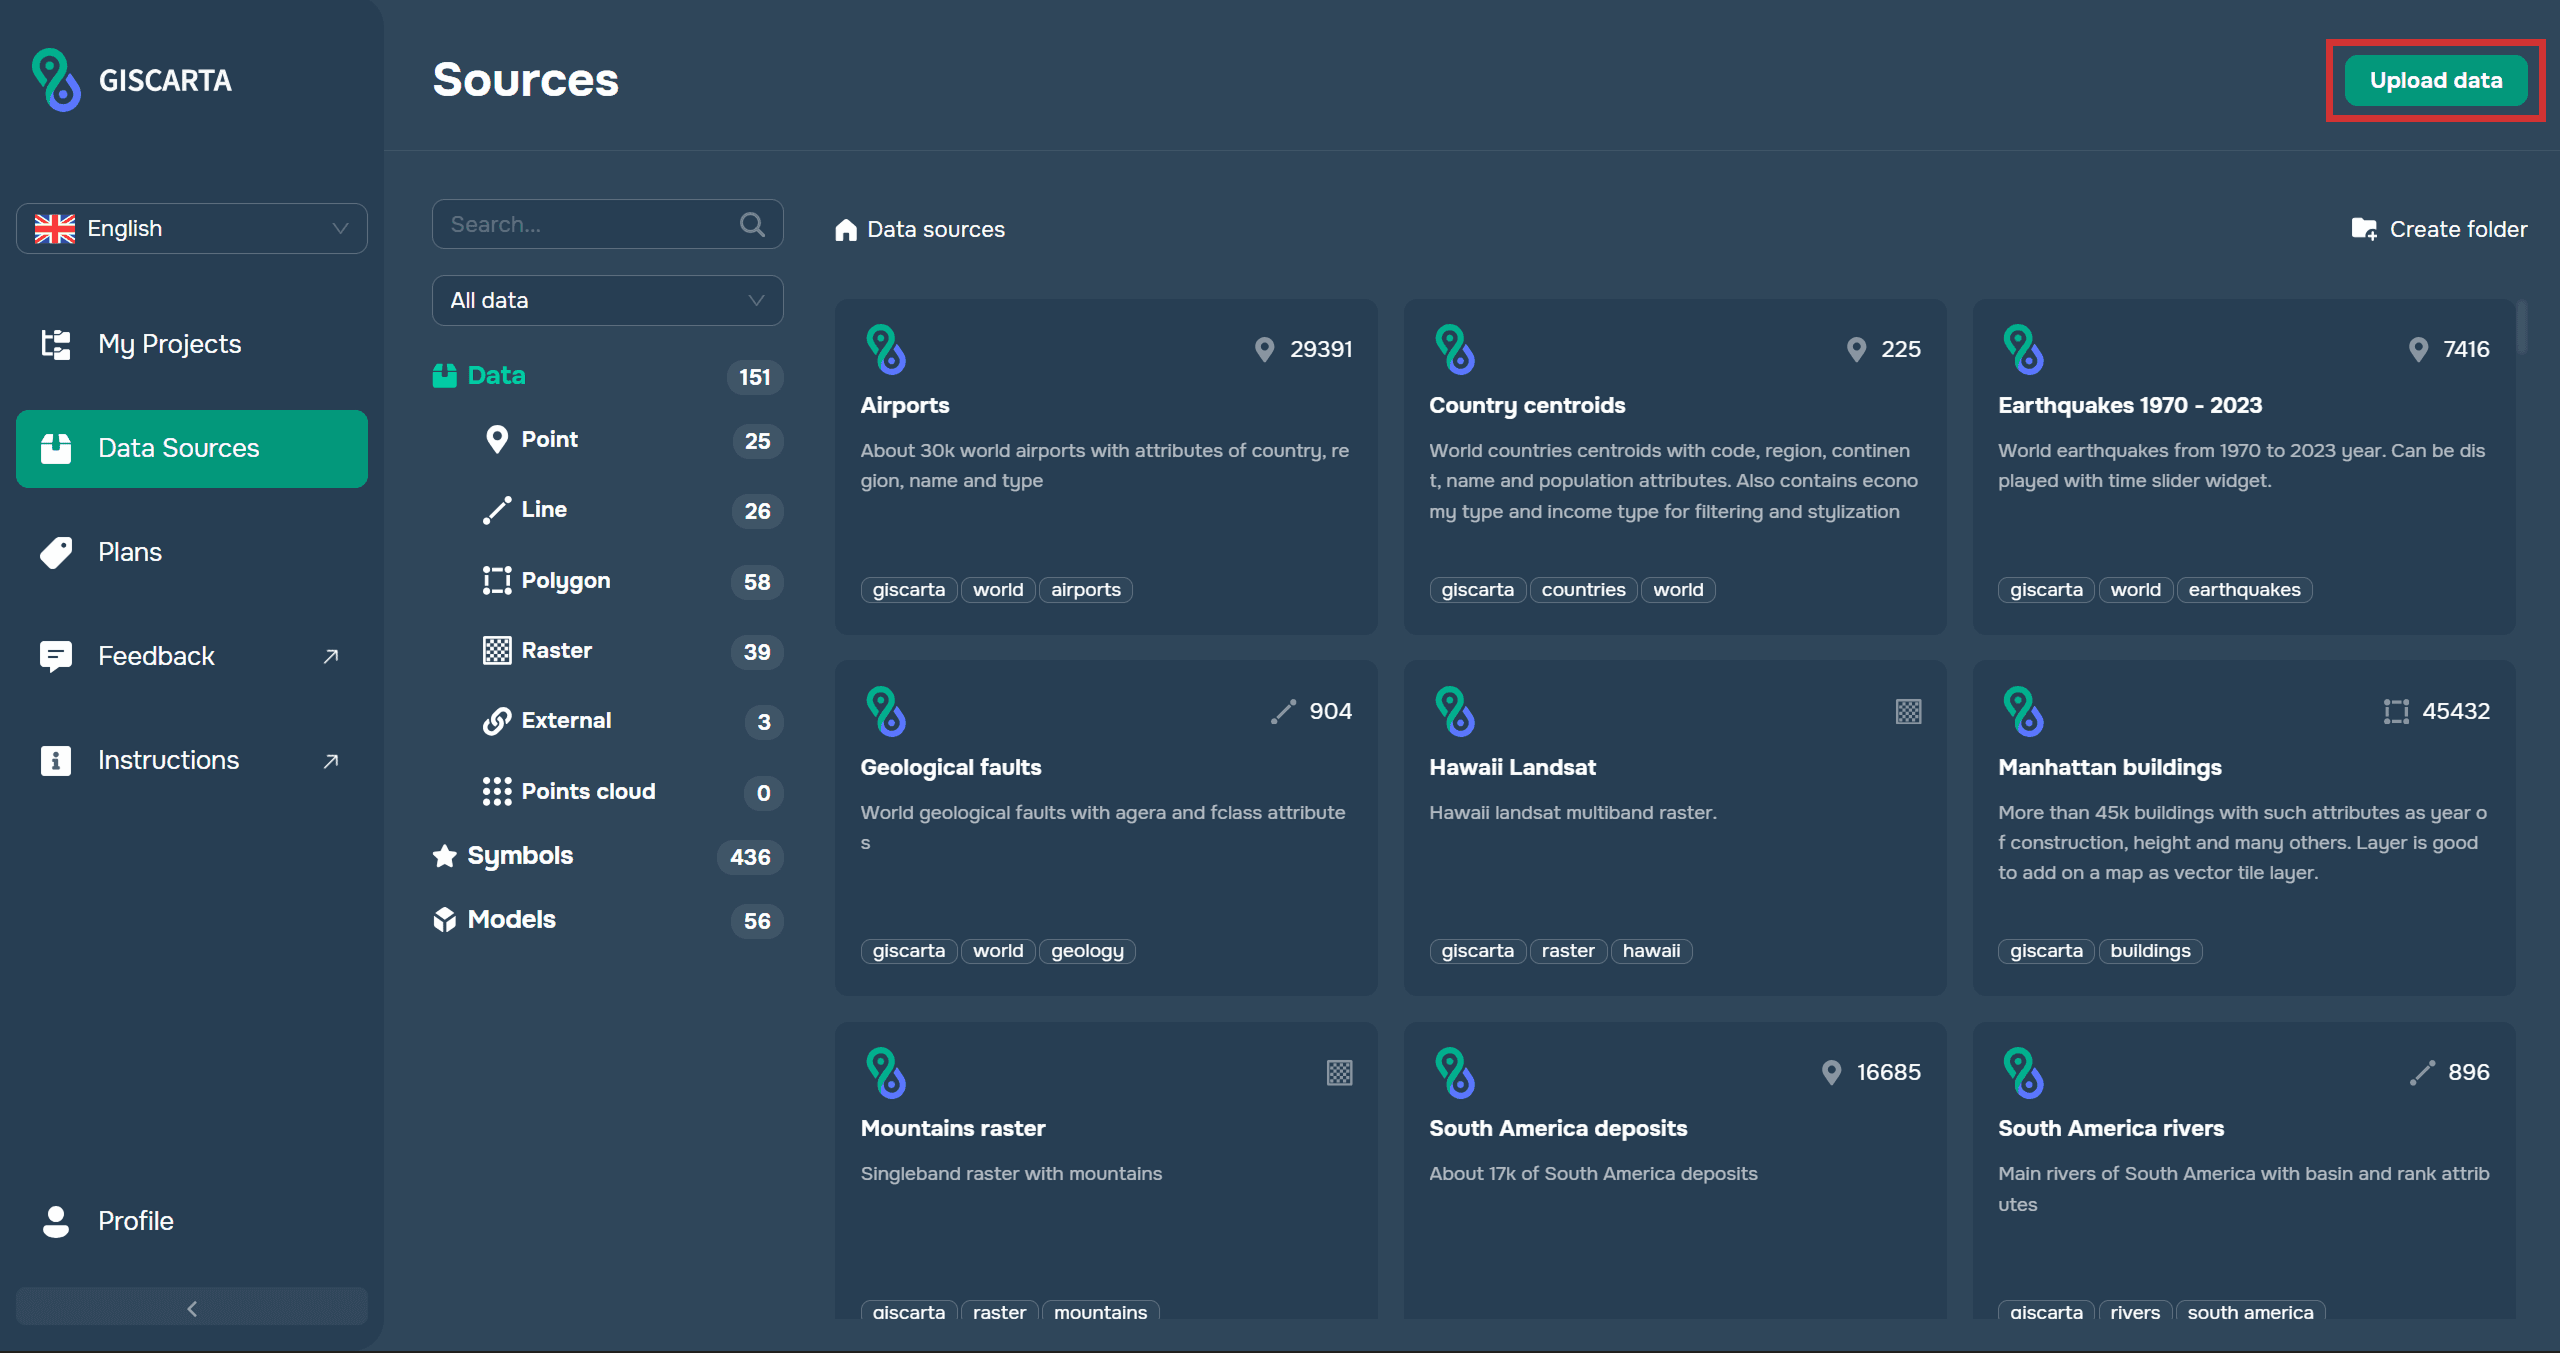
To upload your own data, click the Upload data button in the upper right corner.
Next, drag the file into the window that opens or select one from your computer. For convenience, all formats available for download are listed in the window.
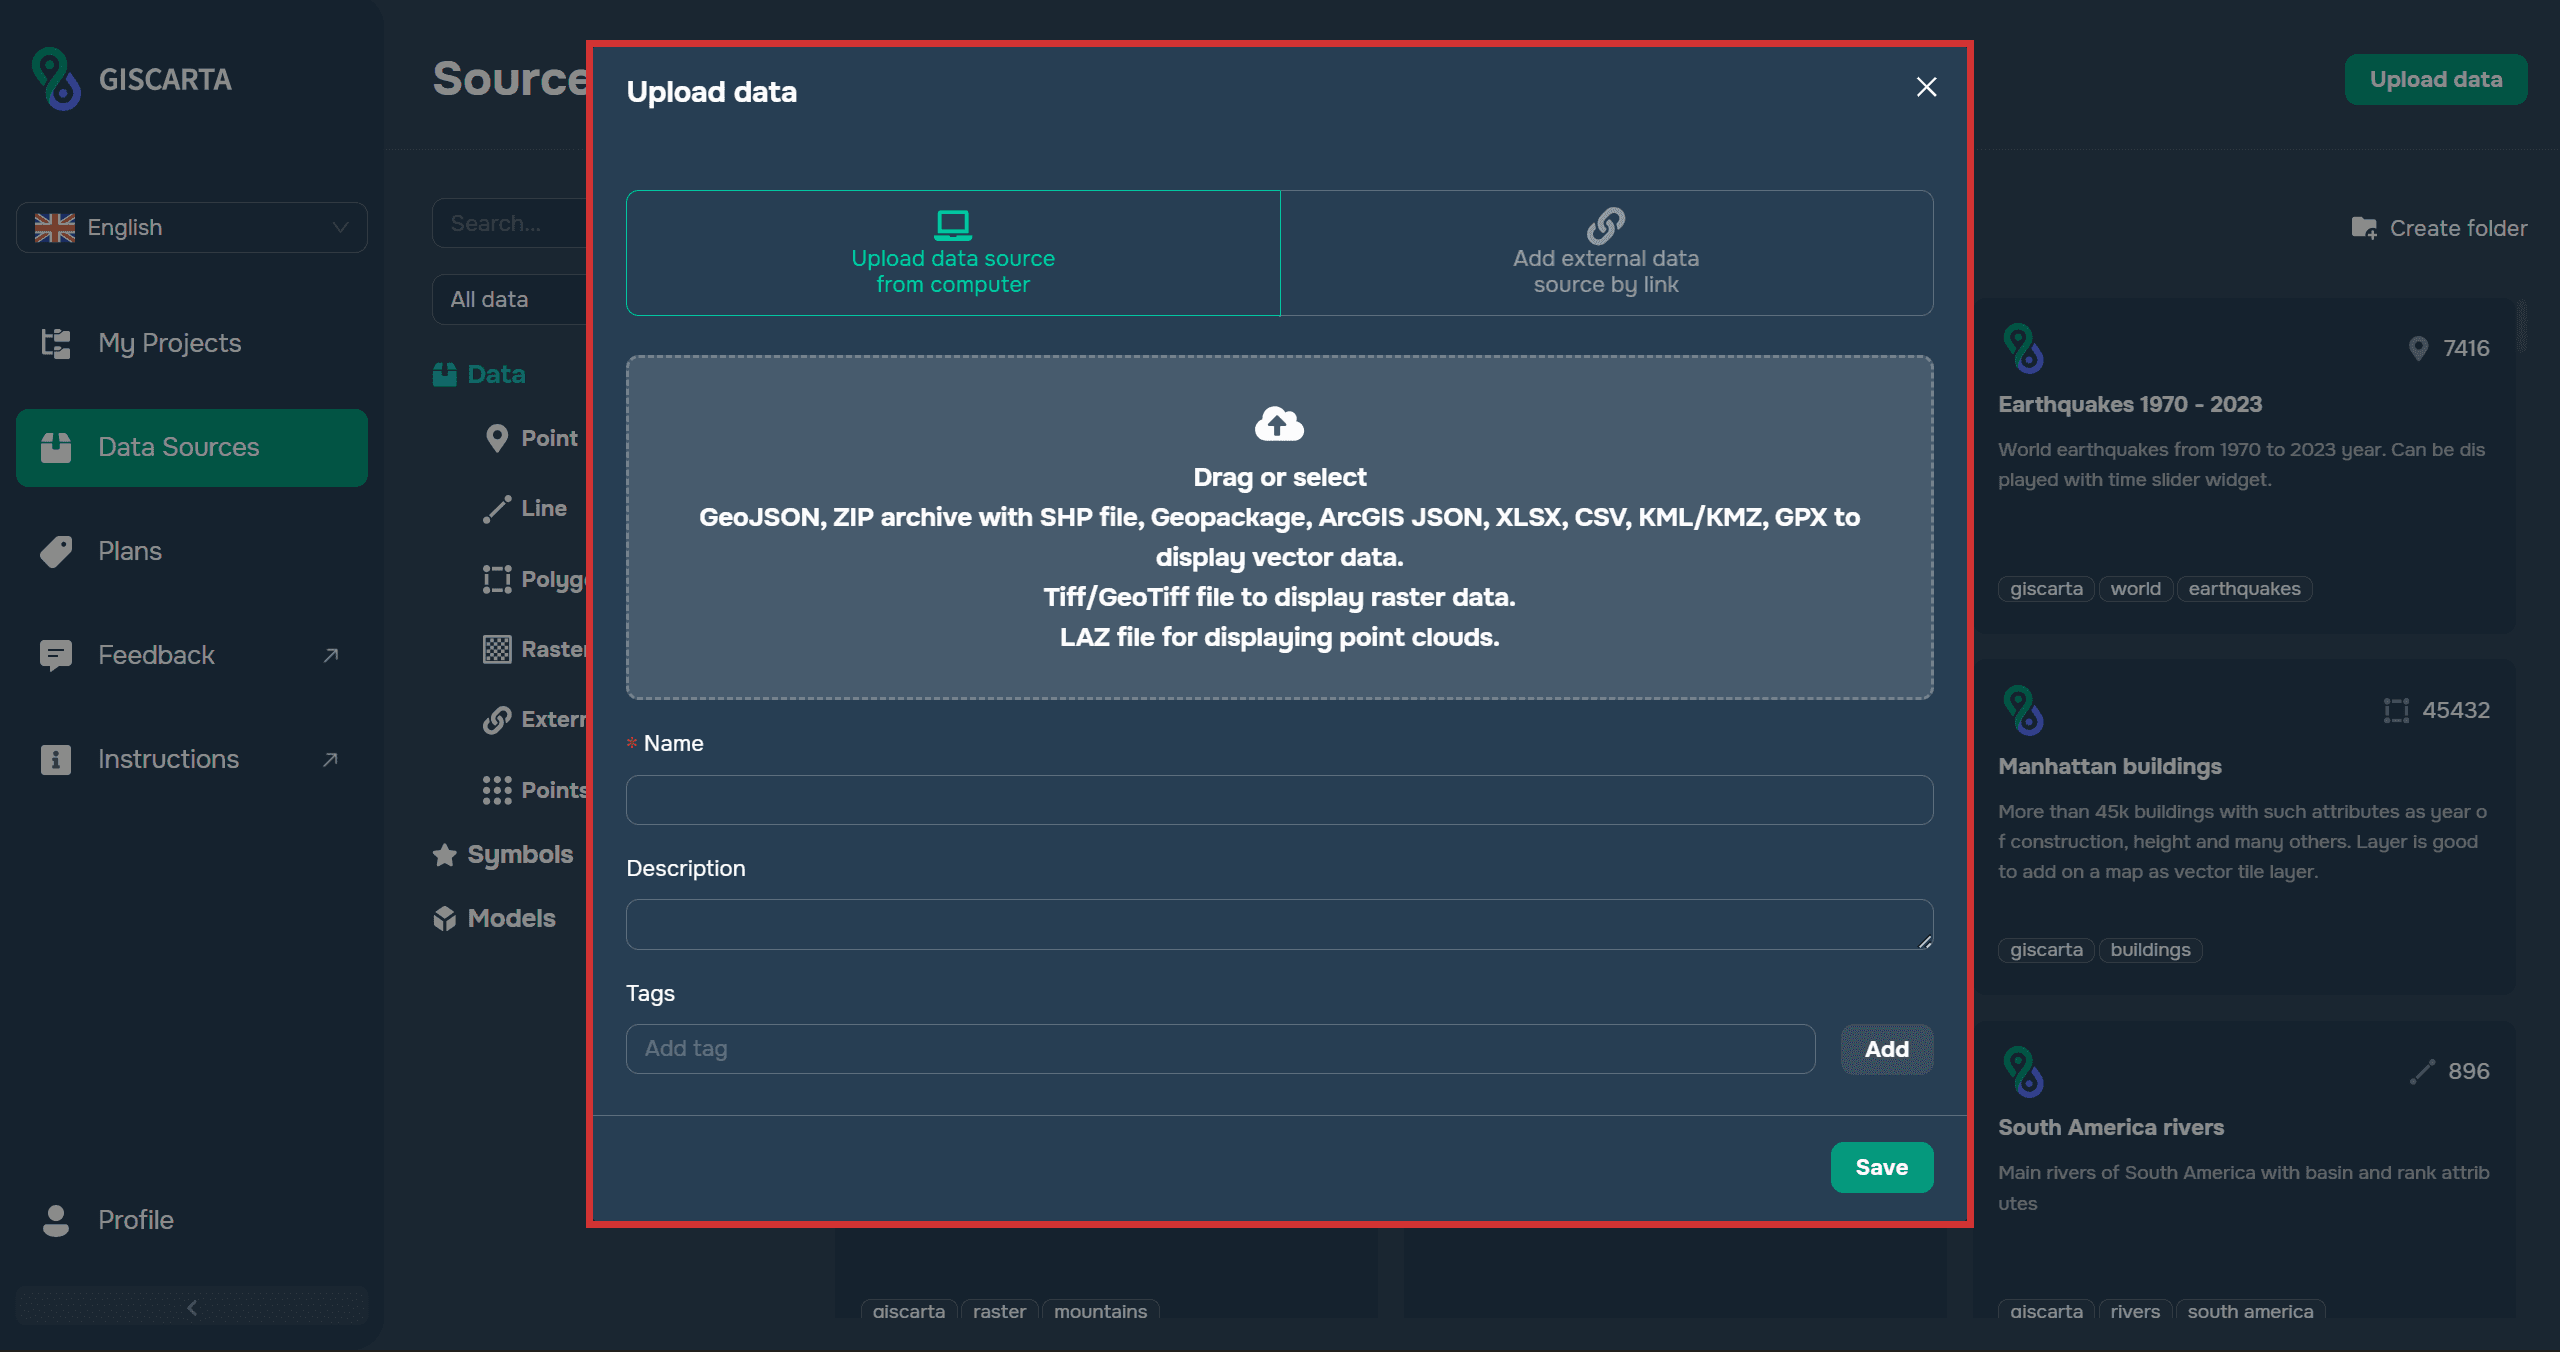
After adding the data, you need to assign it a name and optionally tags. The file is now available in your account in the Data Sources section.
If you already have a project created, you can add data directly during the project build. Open the Layers section and then click the Add New Data Source button.
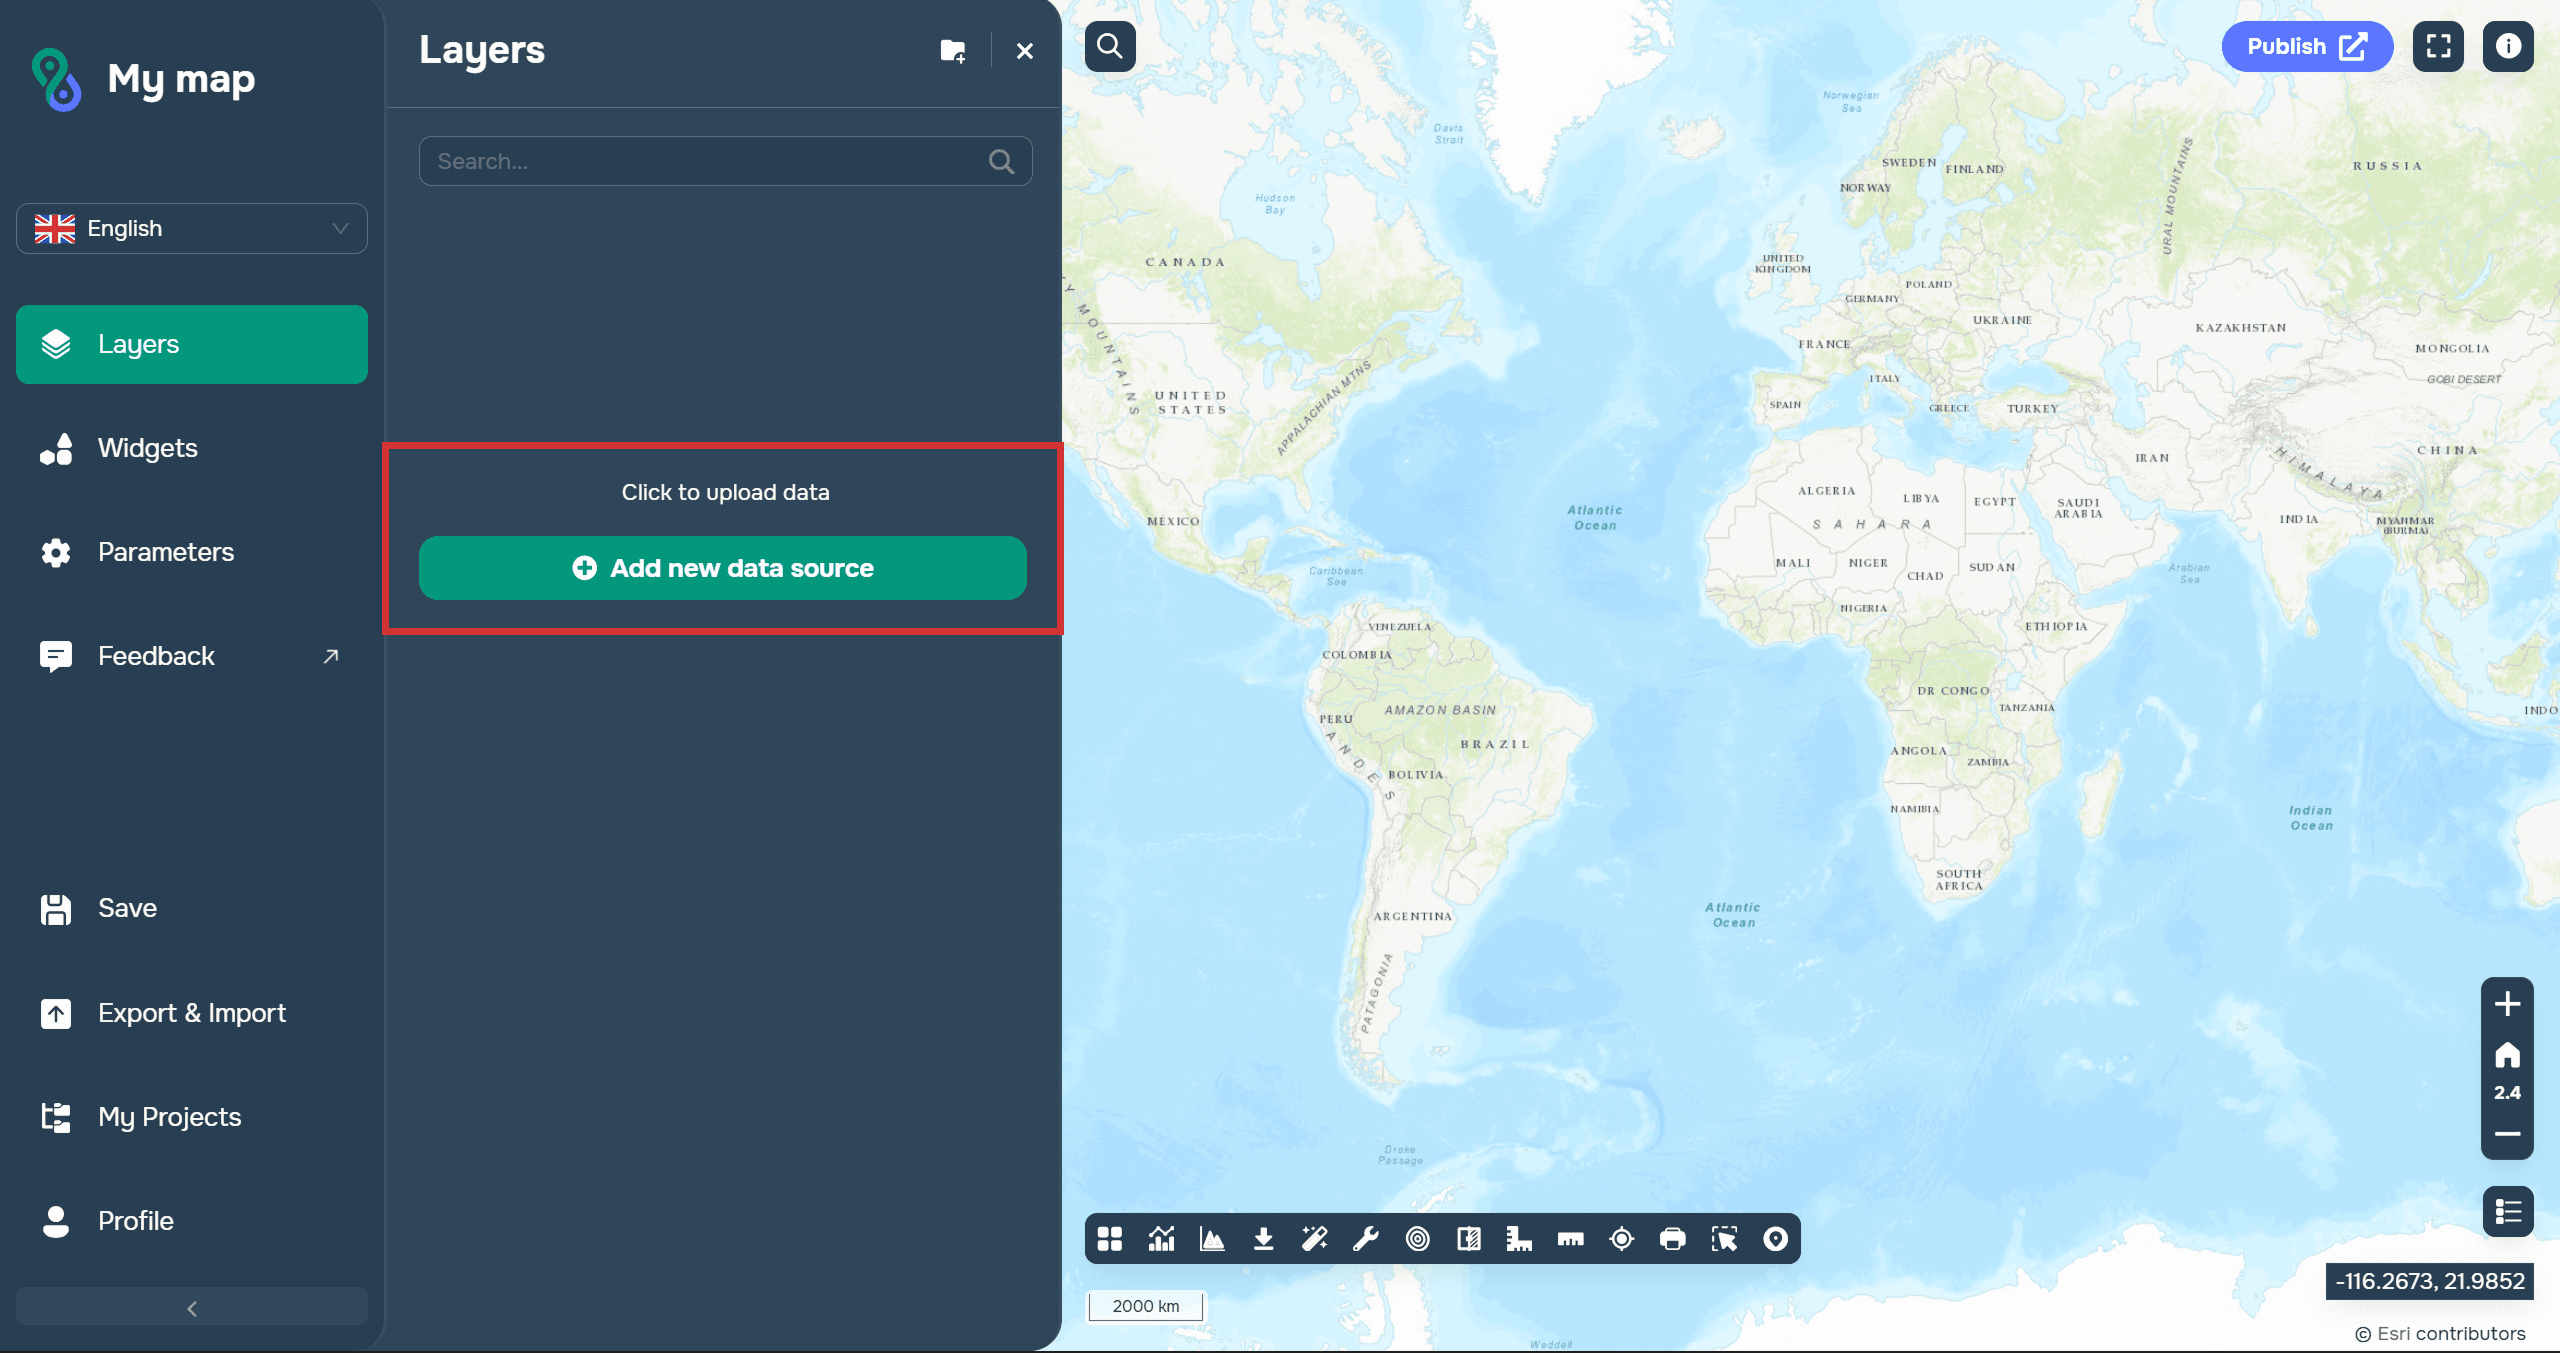
The same window as in the previous method will then open, allowing you to select the files to upload.
Method 2: Data directory
You can also upload data that has already been added to the platform. This data is located in the data directory.
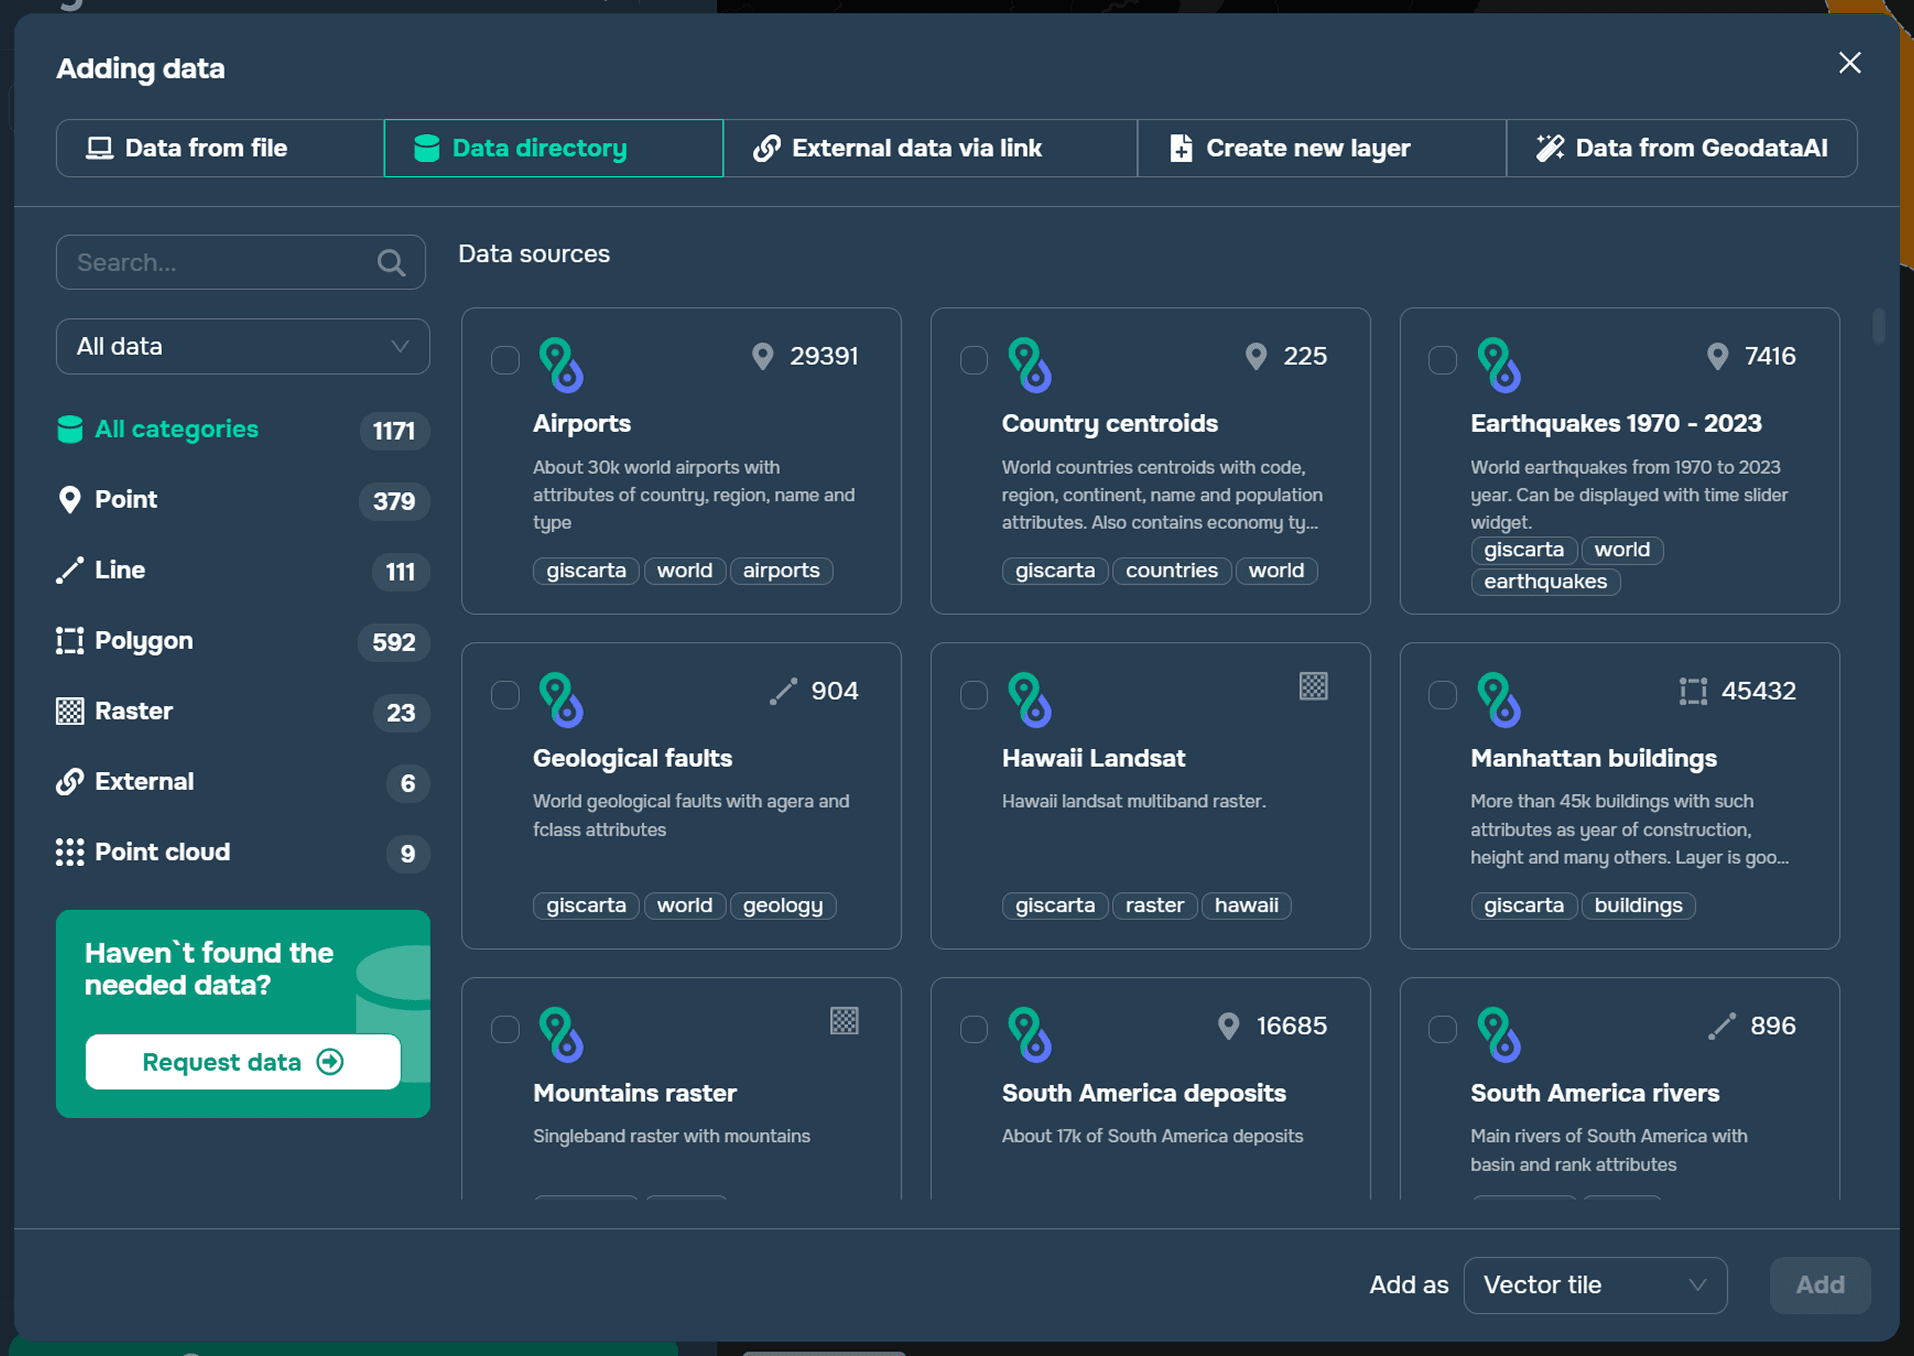
The following types of data are available on the platform:
Airports of the world
Country centroids
Earthquakes from 1970 to 2023
Manhattan buildings and more
Your previously added data is also displayed in the data directory.
To upload a layer to a project, you need to select a data set and click the Add button.
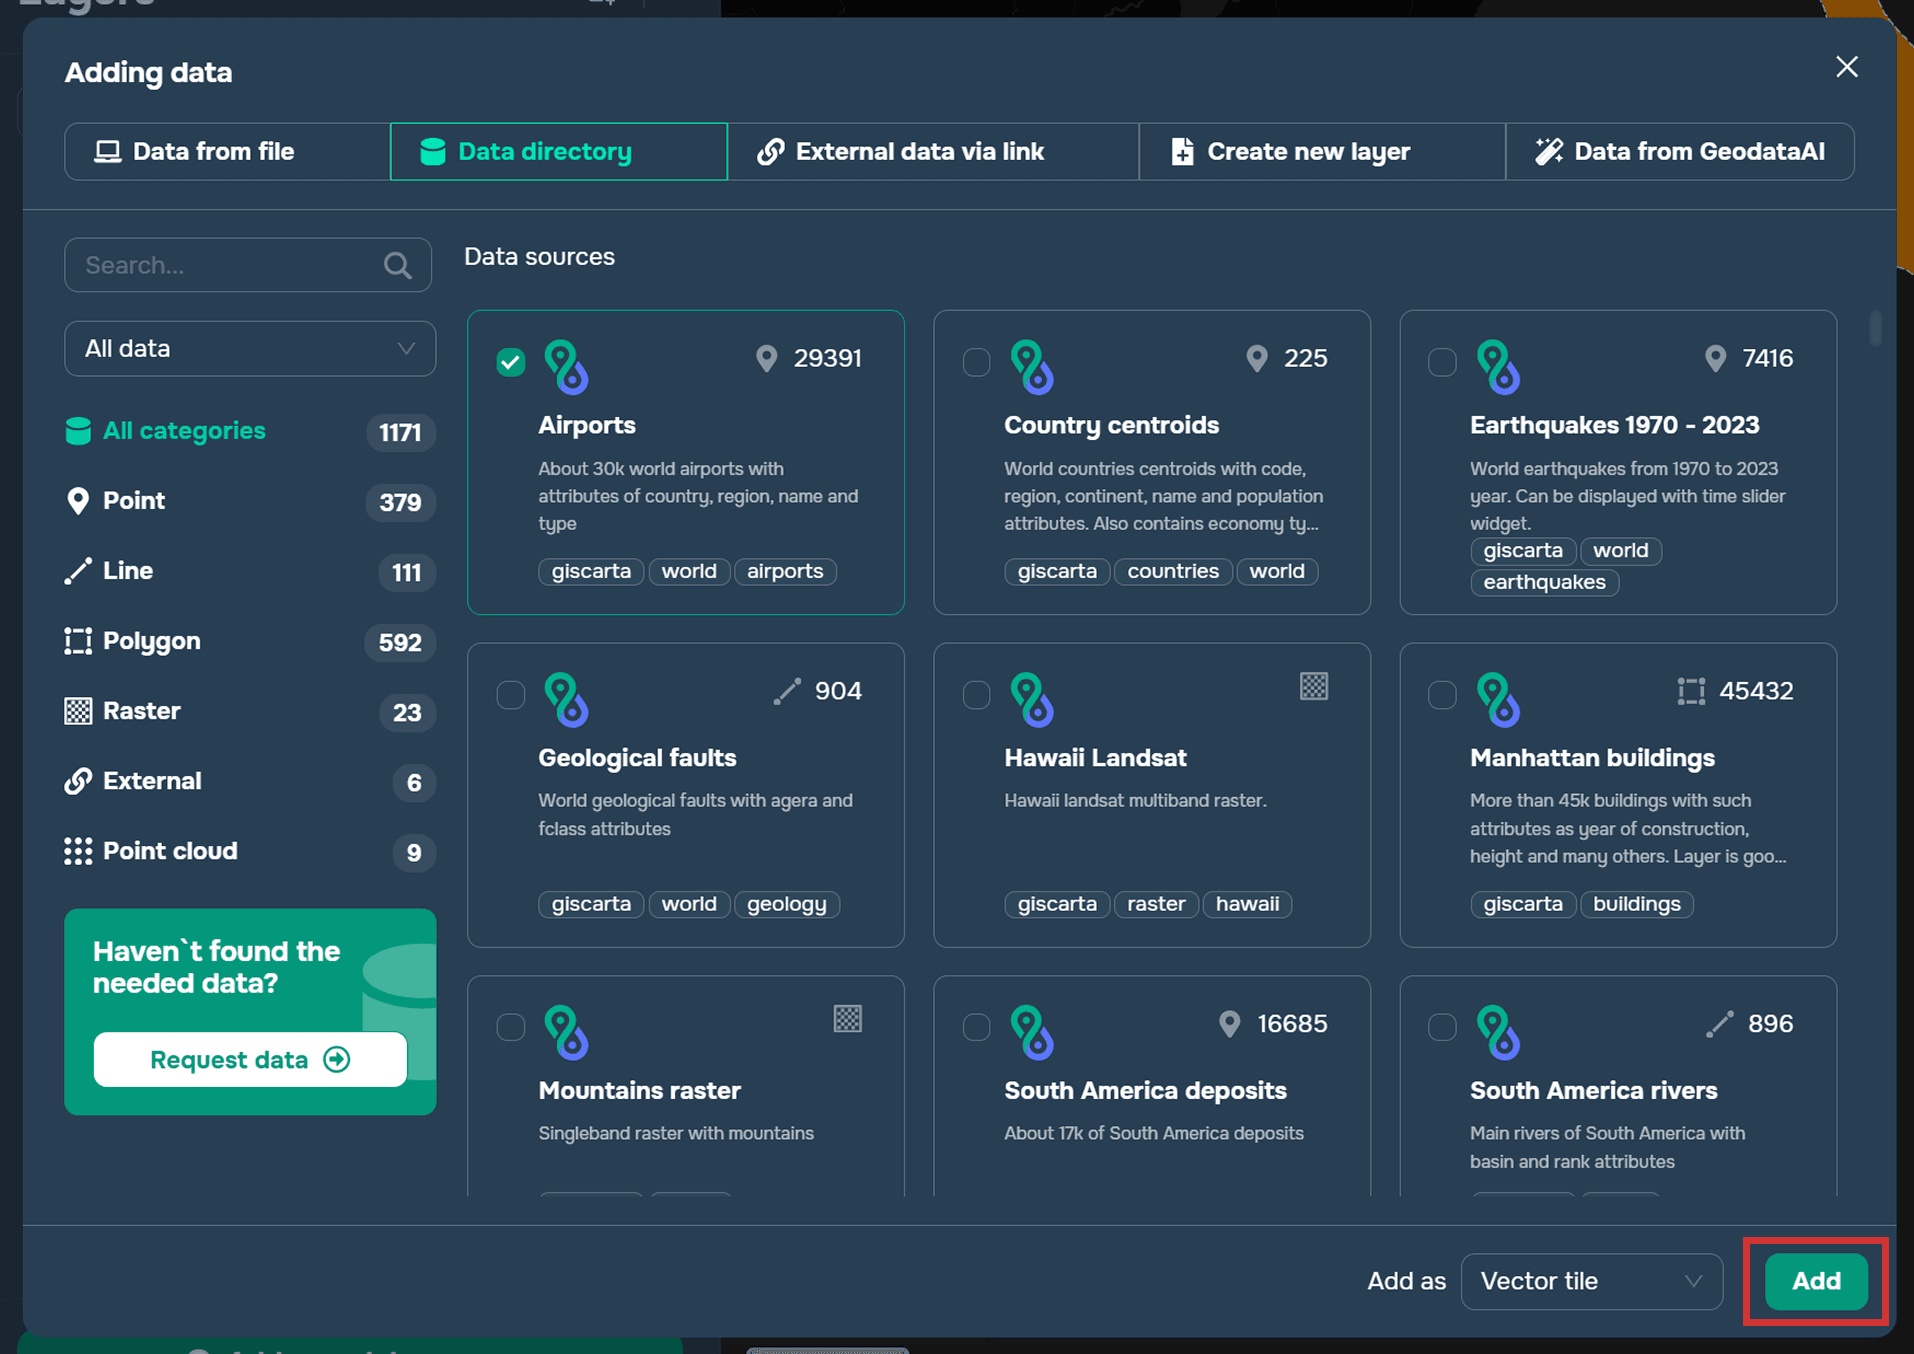
Method 3: External data via link
The platform allows for the addition of data from external sources.
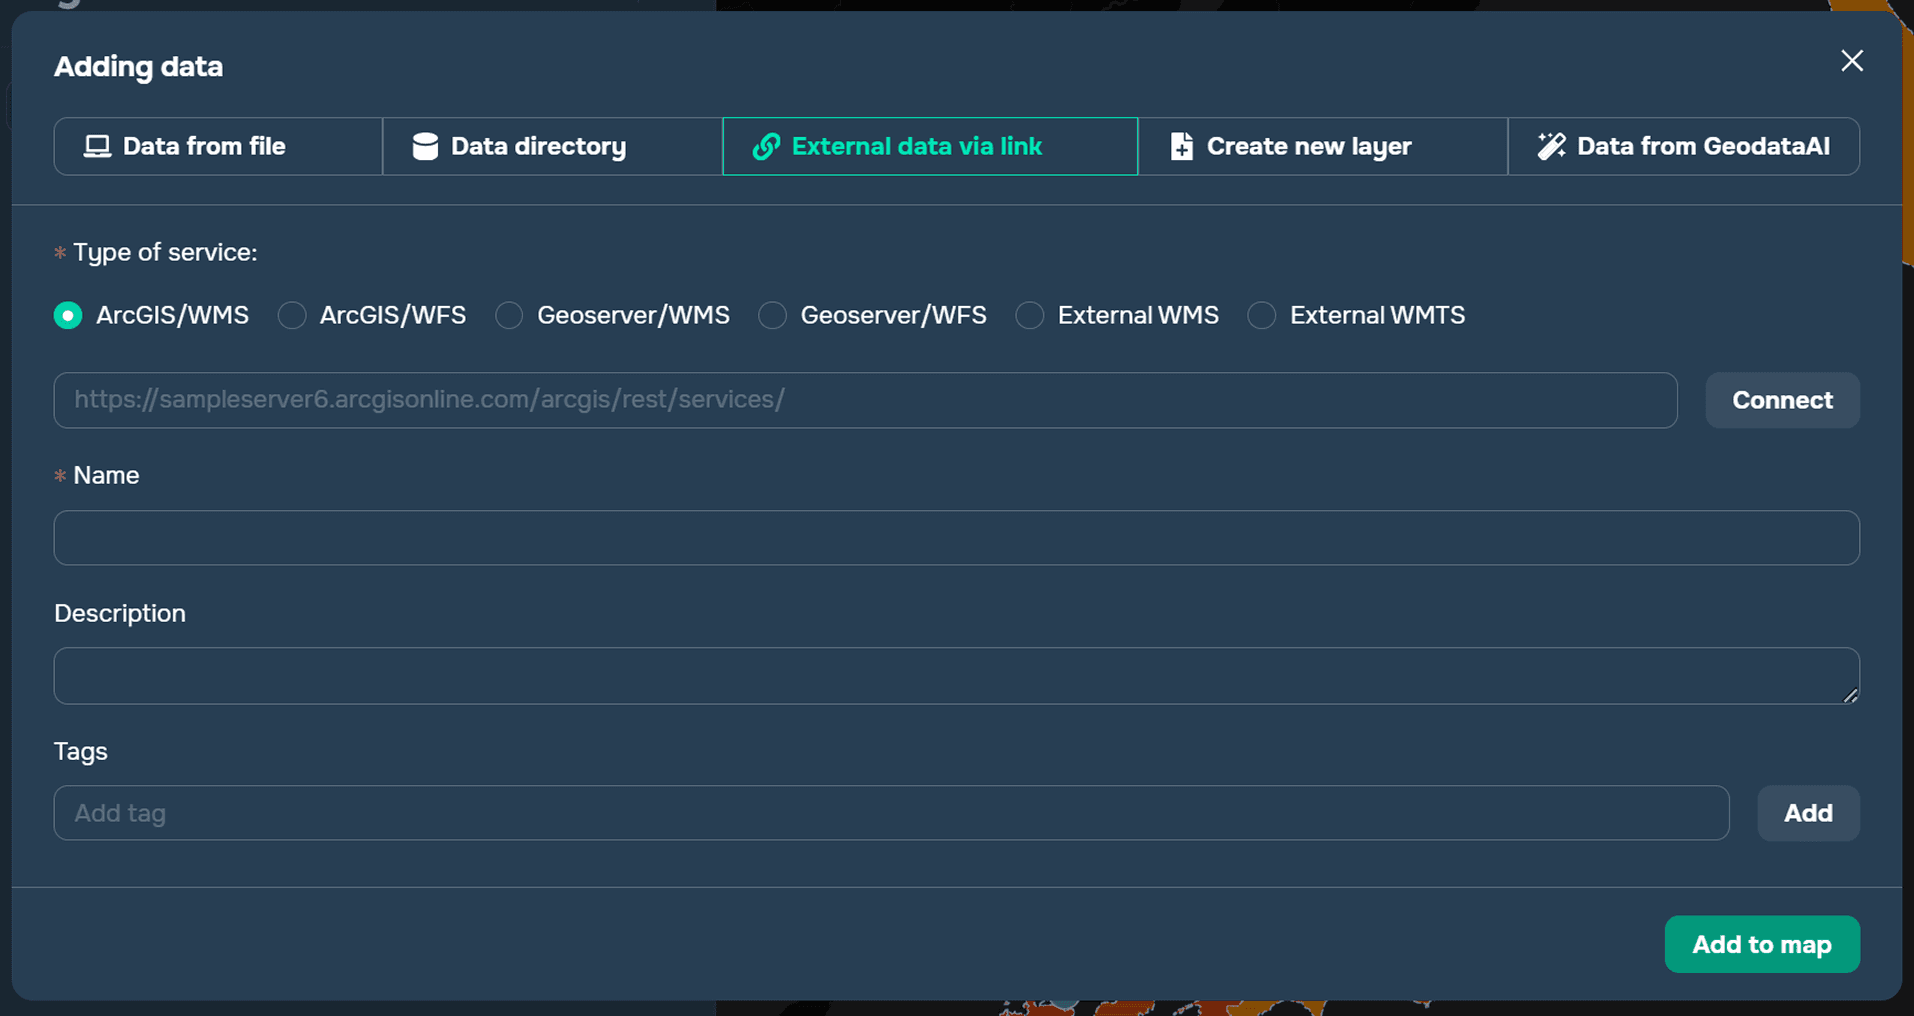
You can read more about adding external sources via a link in this article.
Method 4: Сreate new layer
Sometimes you need to manually create a specific layer in a project. The platform offers the Create New Layer feature for this purpose.
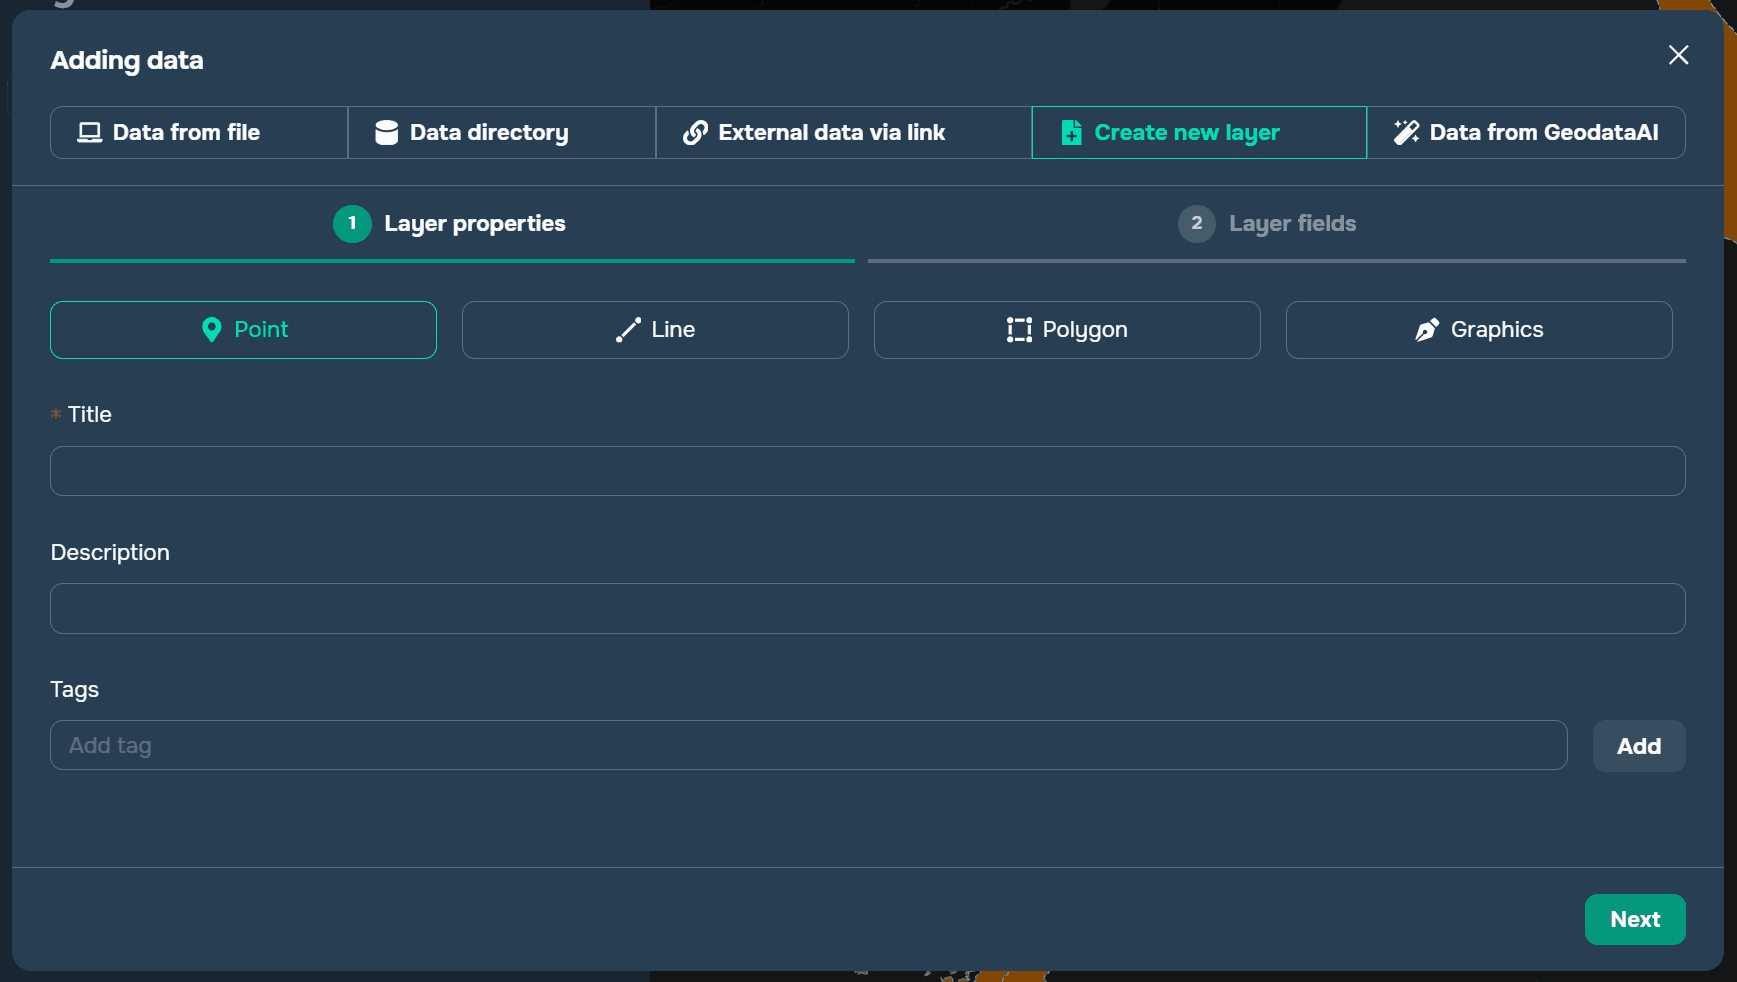
You can read more about creating layers in this article.
Method 5: Via a QGIS plugin

You can learn more about how the plugin works in the article or docs.