Widget description
This widget allows the application creator to create new layers and automatically add them to data sources and to the map.
Layers can be of 4 types:
Point
Line
Polygon
Graphics
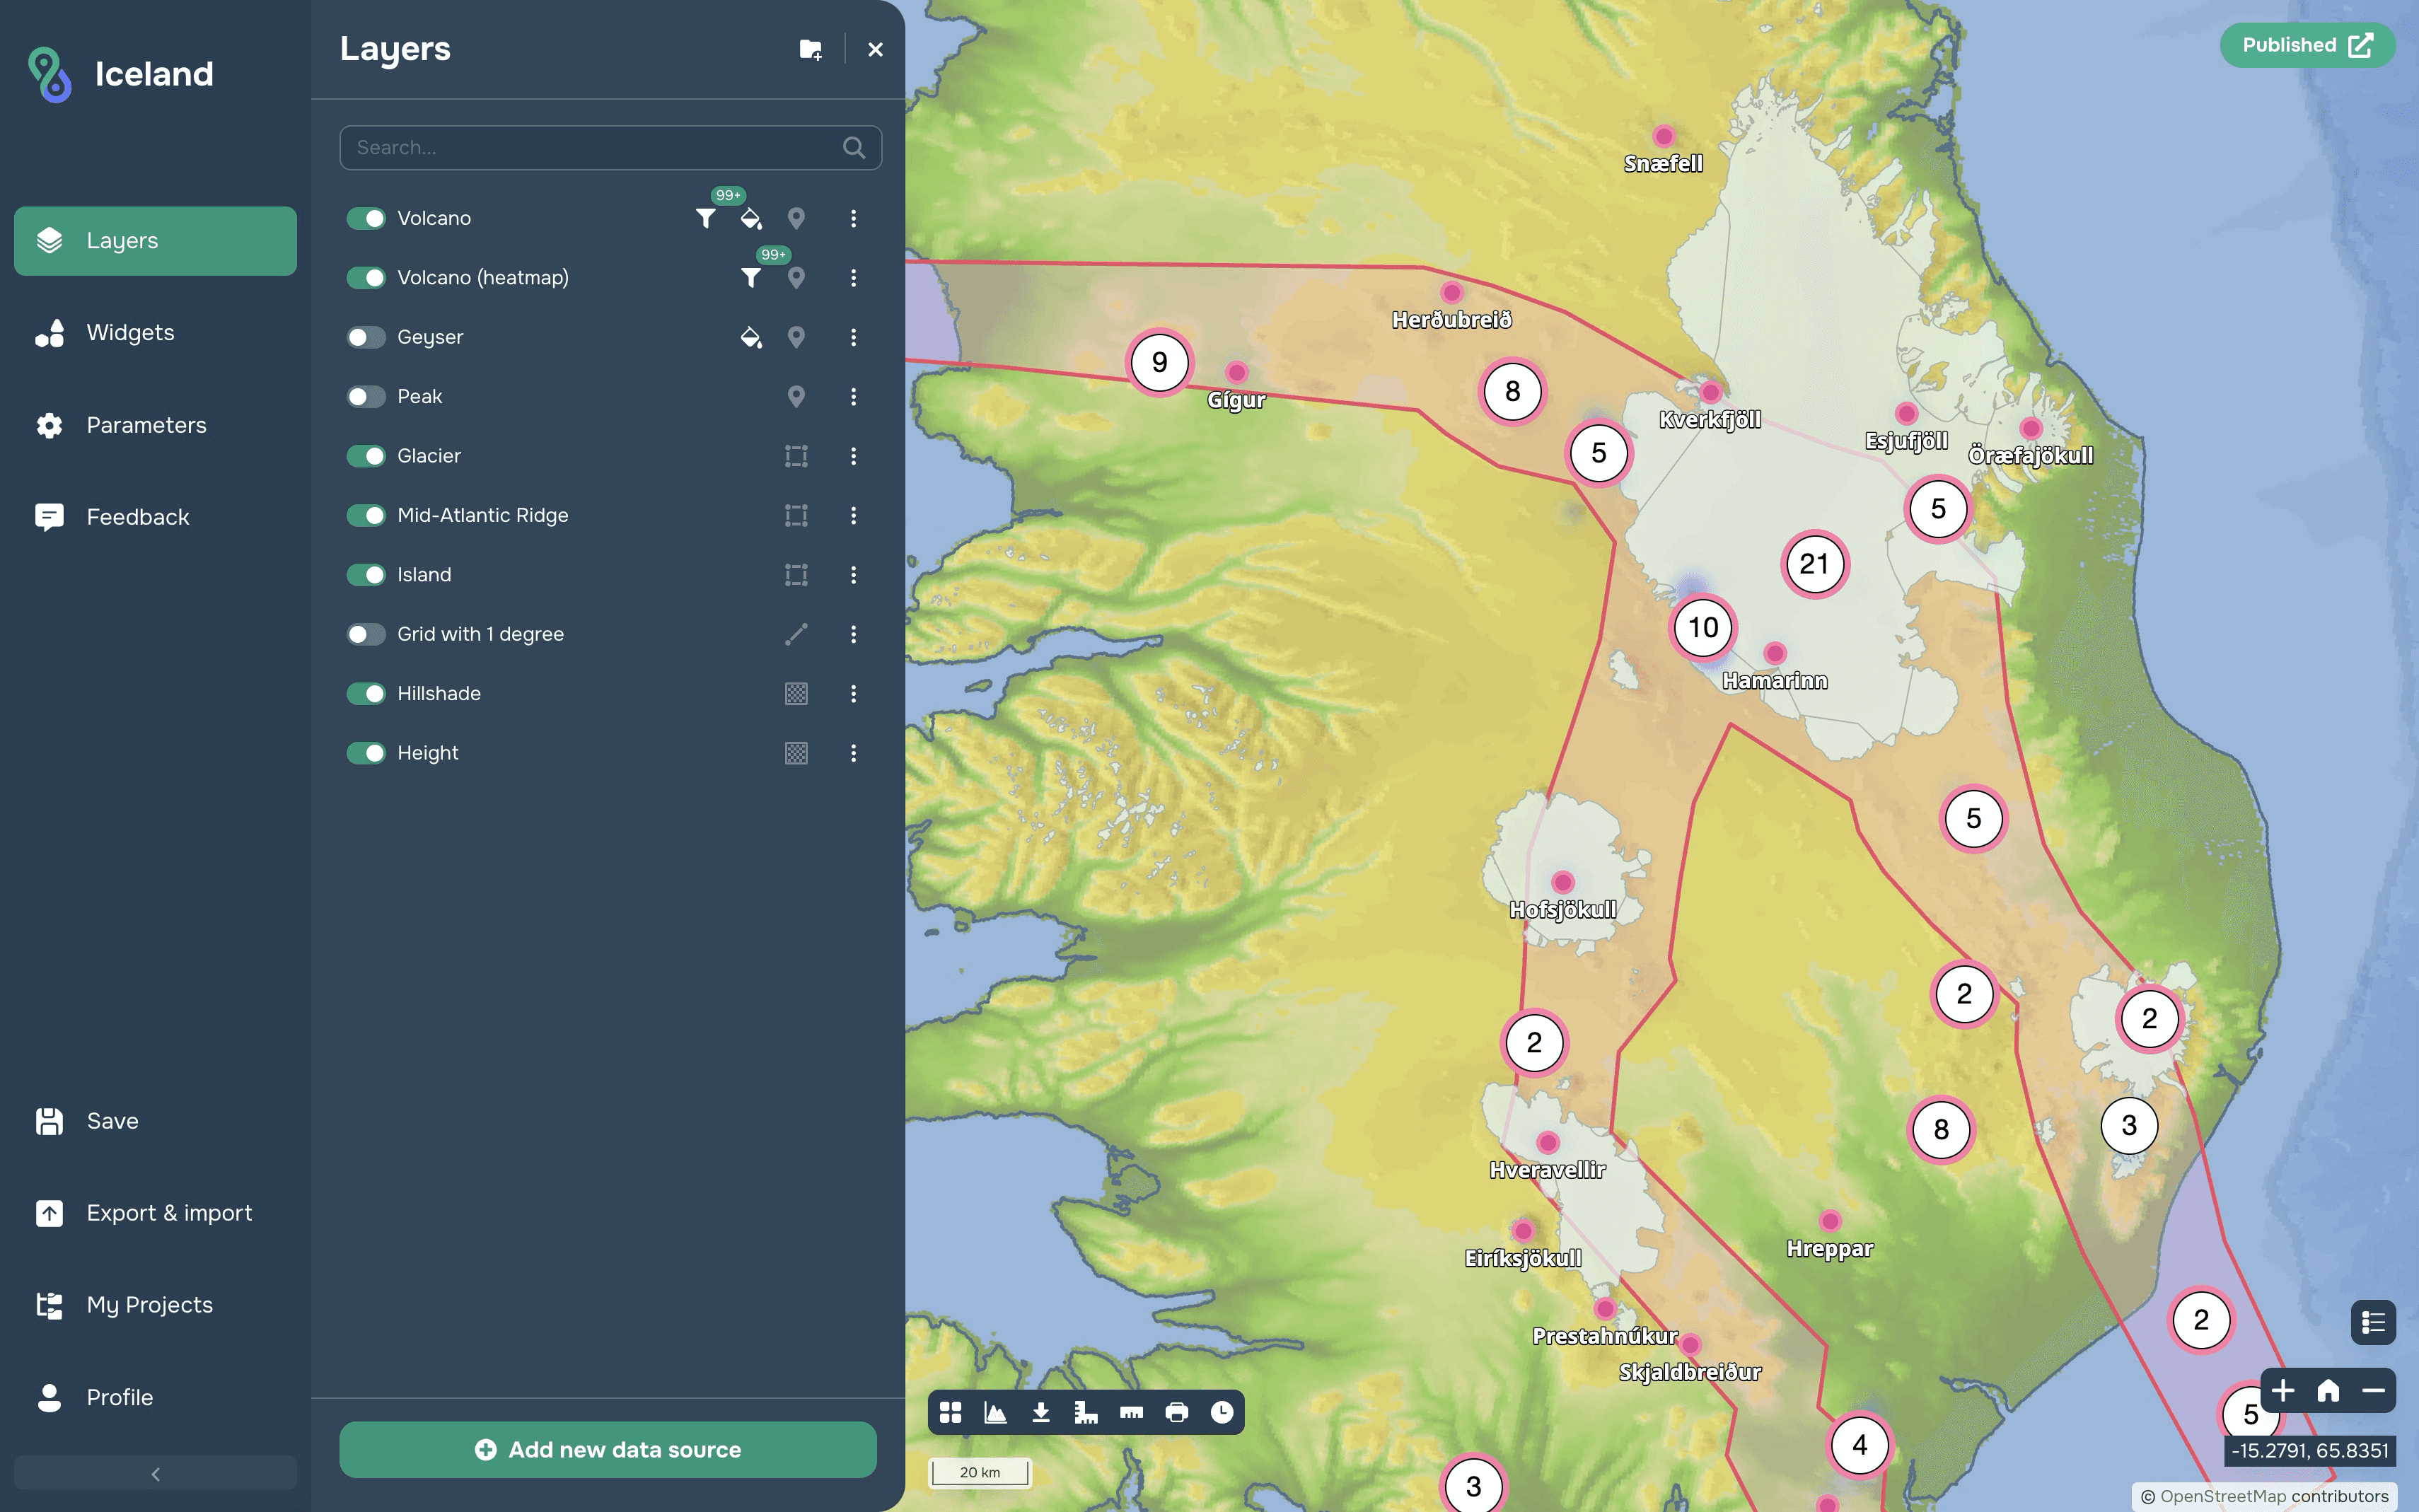
To create a new layer, click the Add New Data Source button at the bottom of the Layers sidebar (see Figure 1).
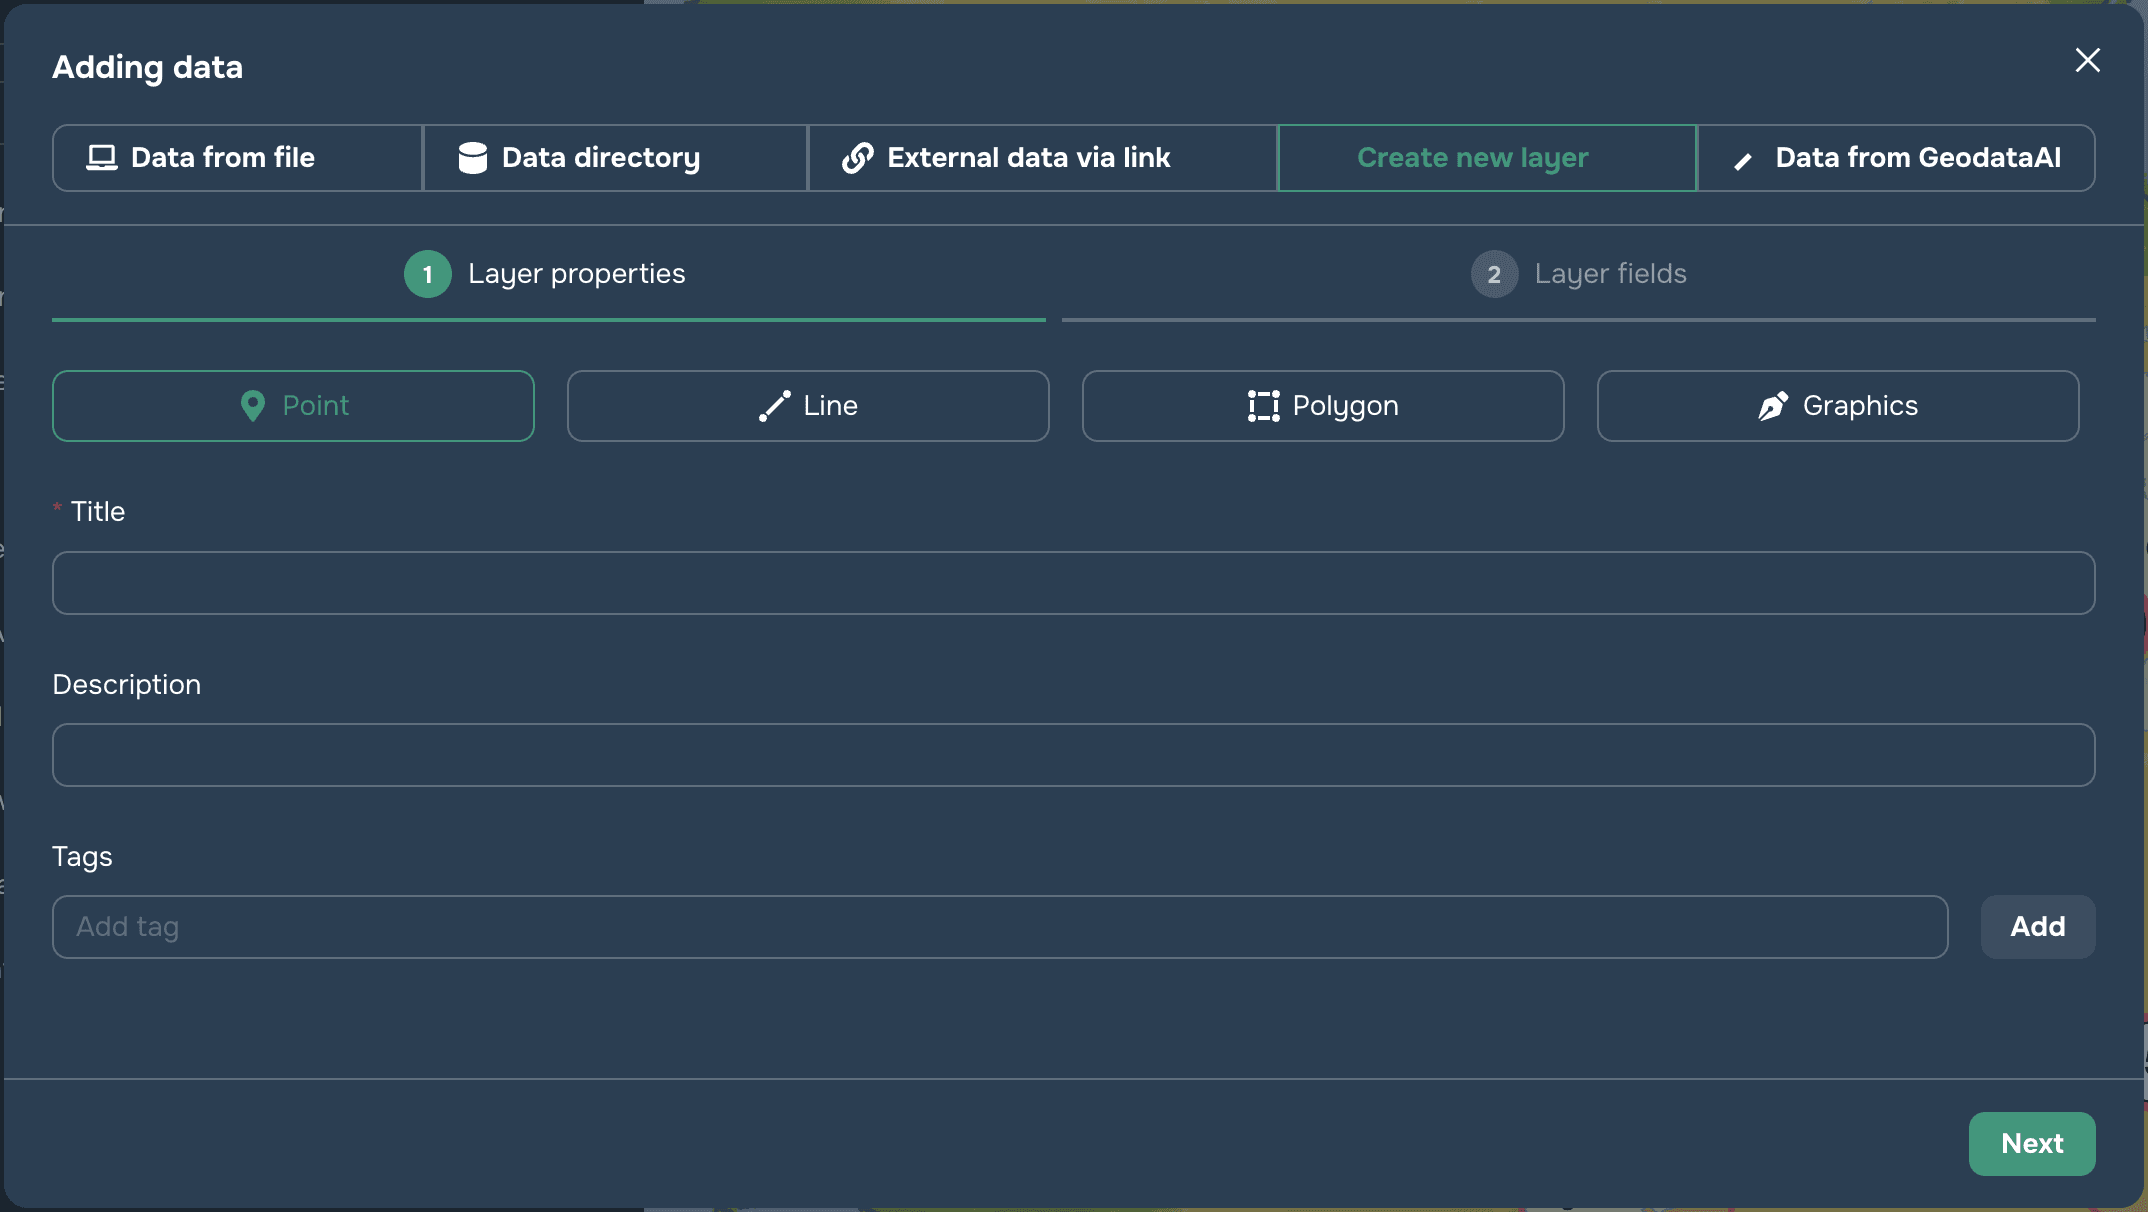
To create a new layer, click the Create New Layer tab at the top of the Adding Data panel (see Figure 2). After that, the user will be shown a modal window with the parameters of the future layer. In the first step, the user should select the layer geometry type, name, description and tags and click Next (see Figure 2).
On the second step, the user should create attributes of the future layer with types and aliases and click Save (see Figure 3).

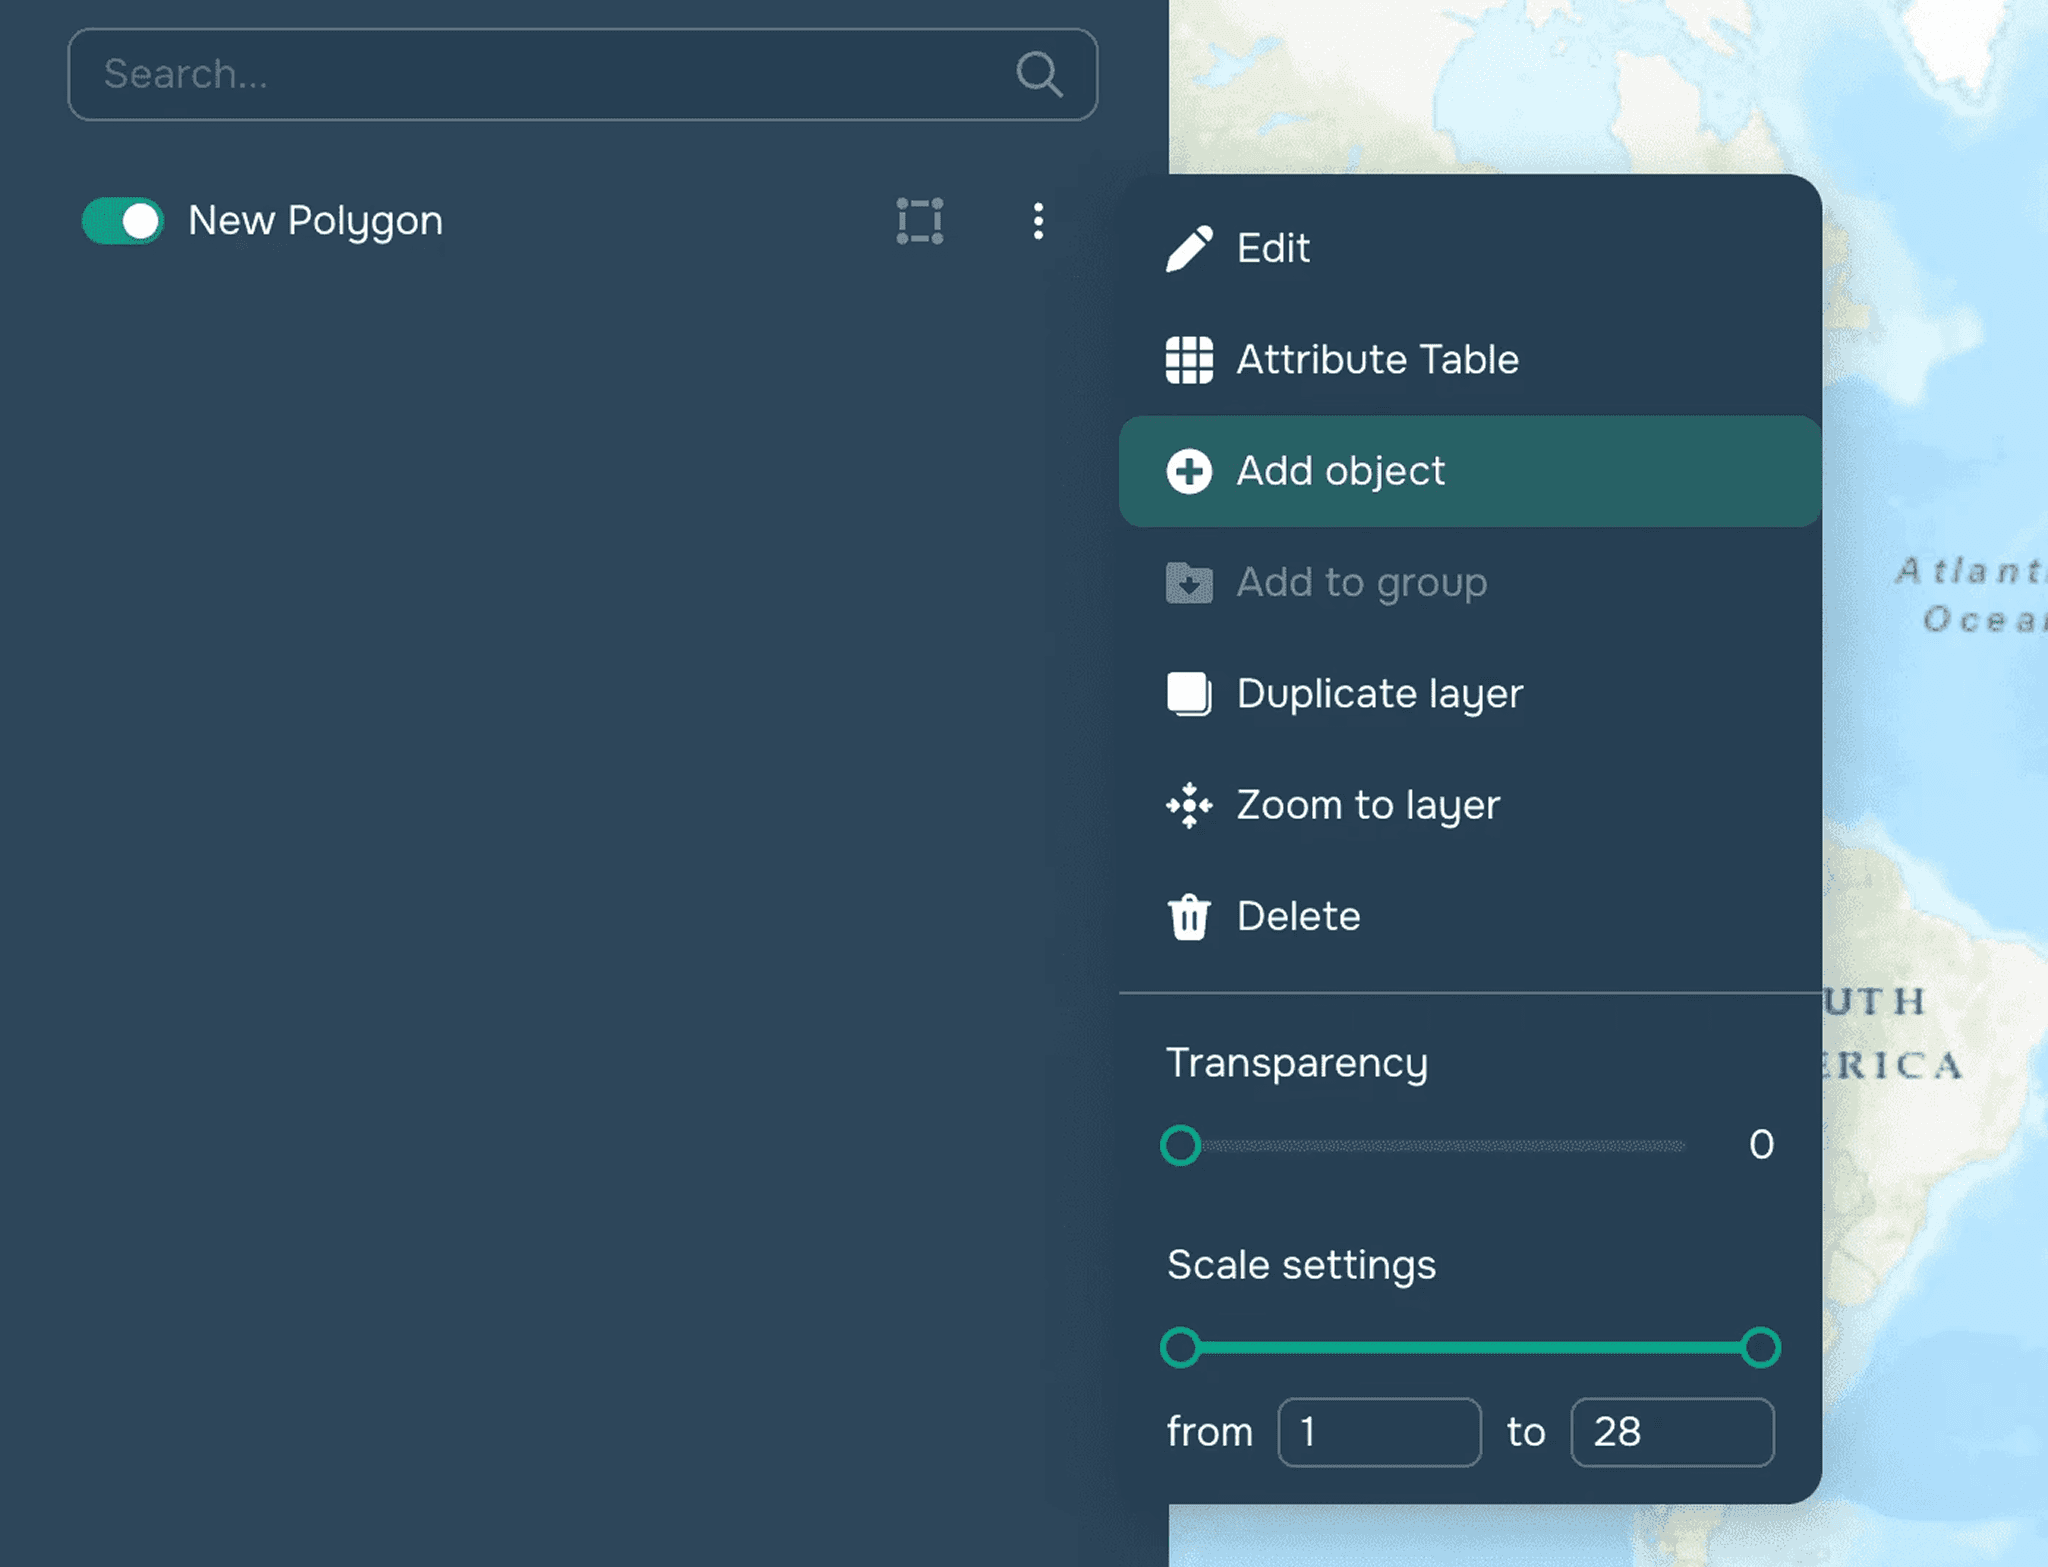
After that the layer will be successfully created and added to the map. The user will only need to fill it with objects through the context menu of the layer Add Object (see Figure 4).
The graphic layer

The Graphics layer is saved directly in a specific project and allows you to add various graphic objects to the map:
Text
Polyline
Polygon
Rectangle
Freehand polyline
Circle
Marker
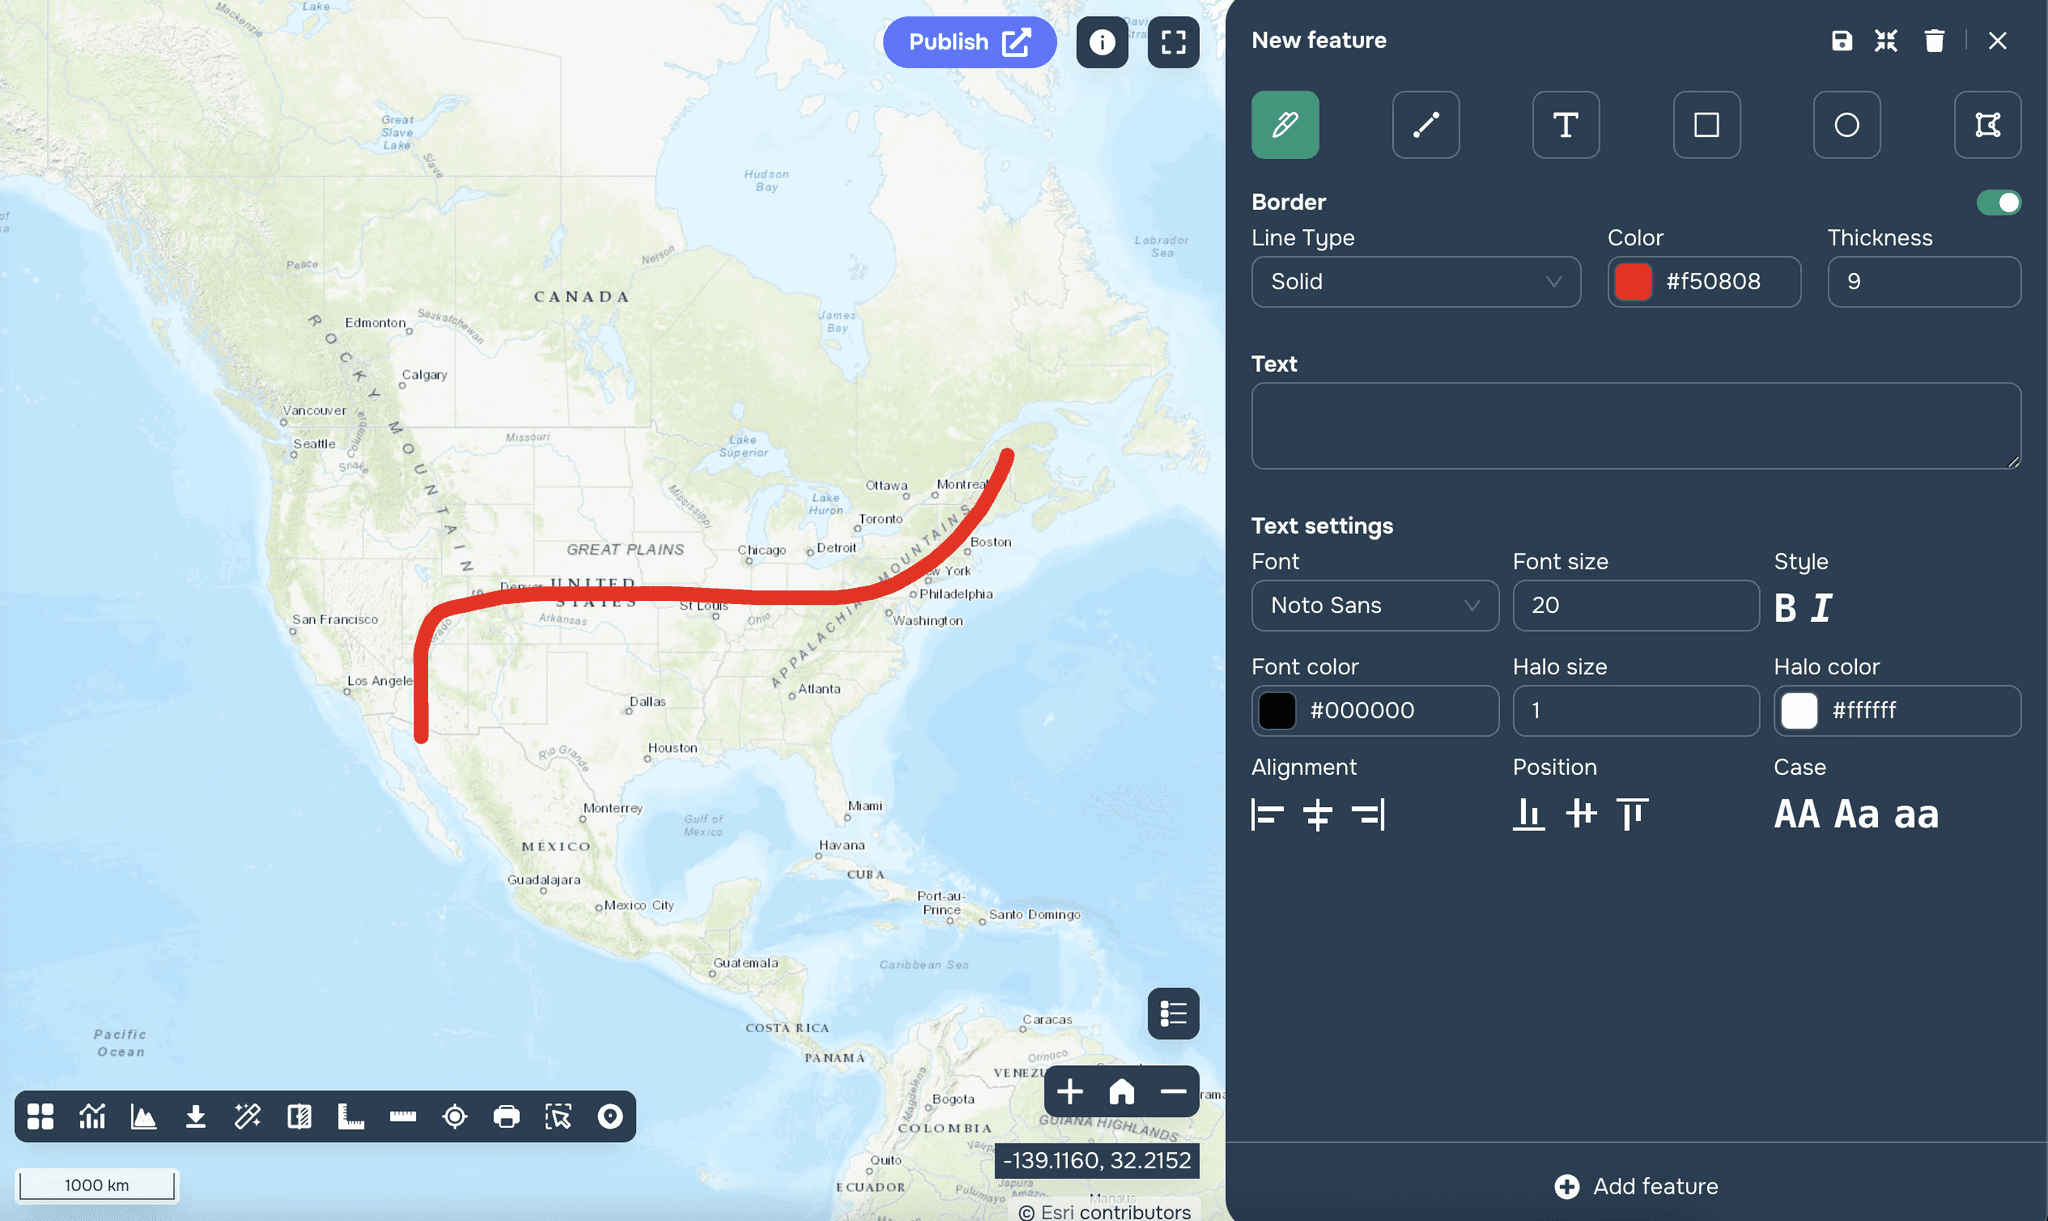
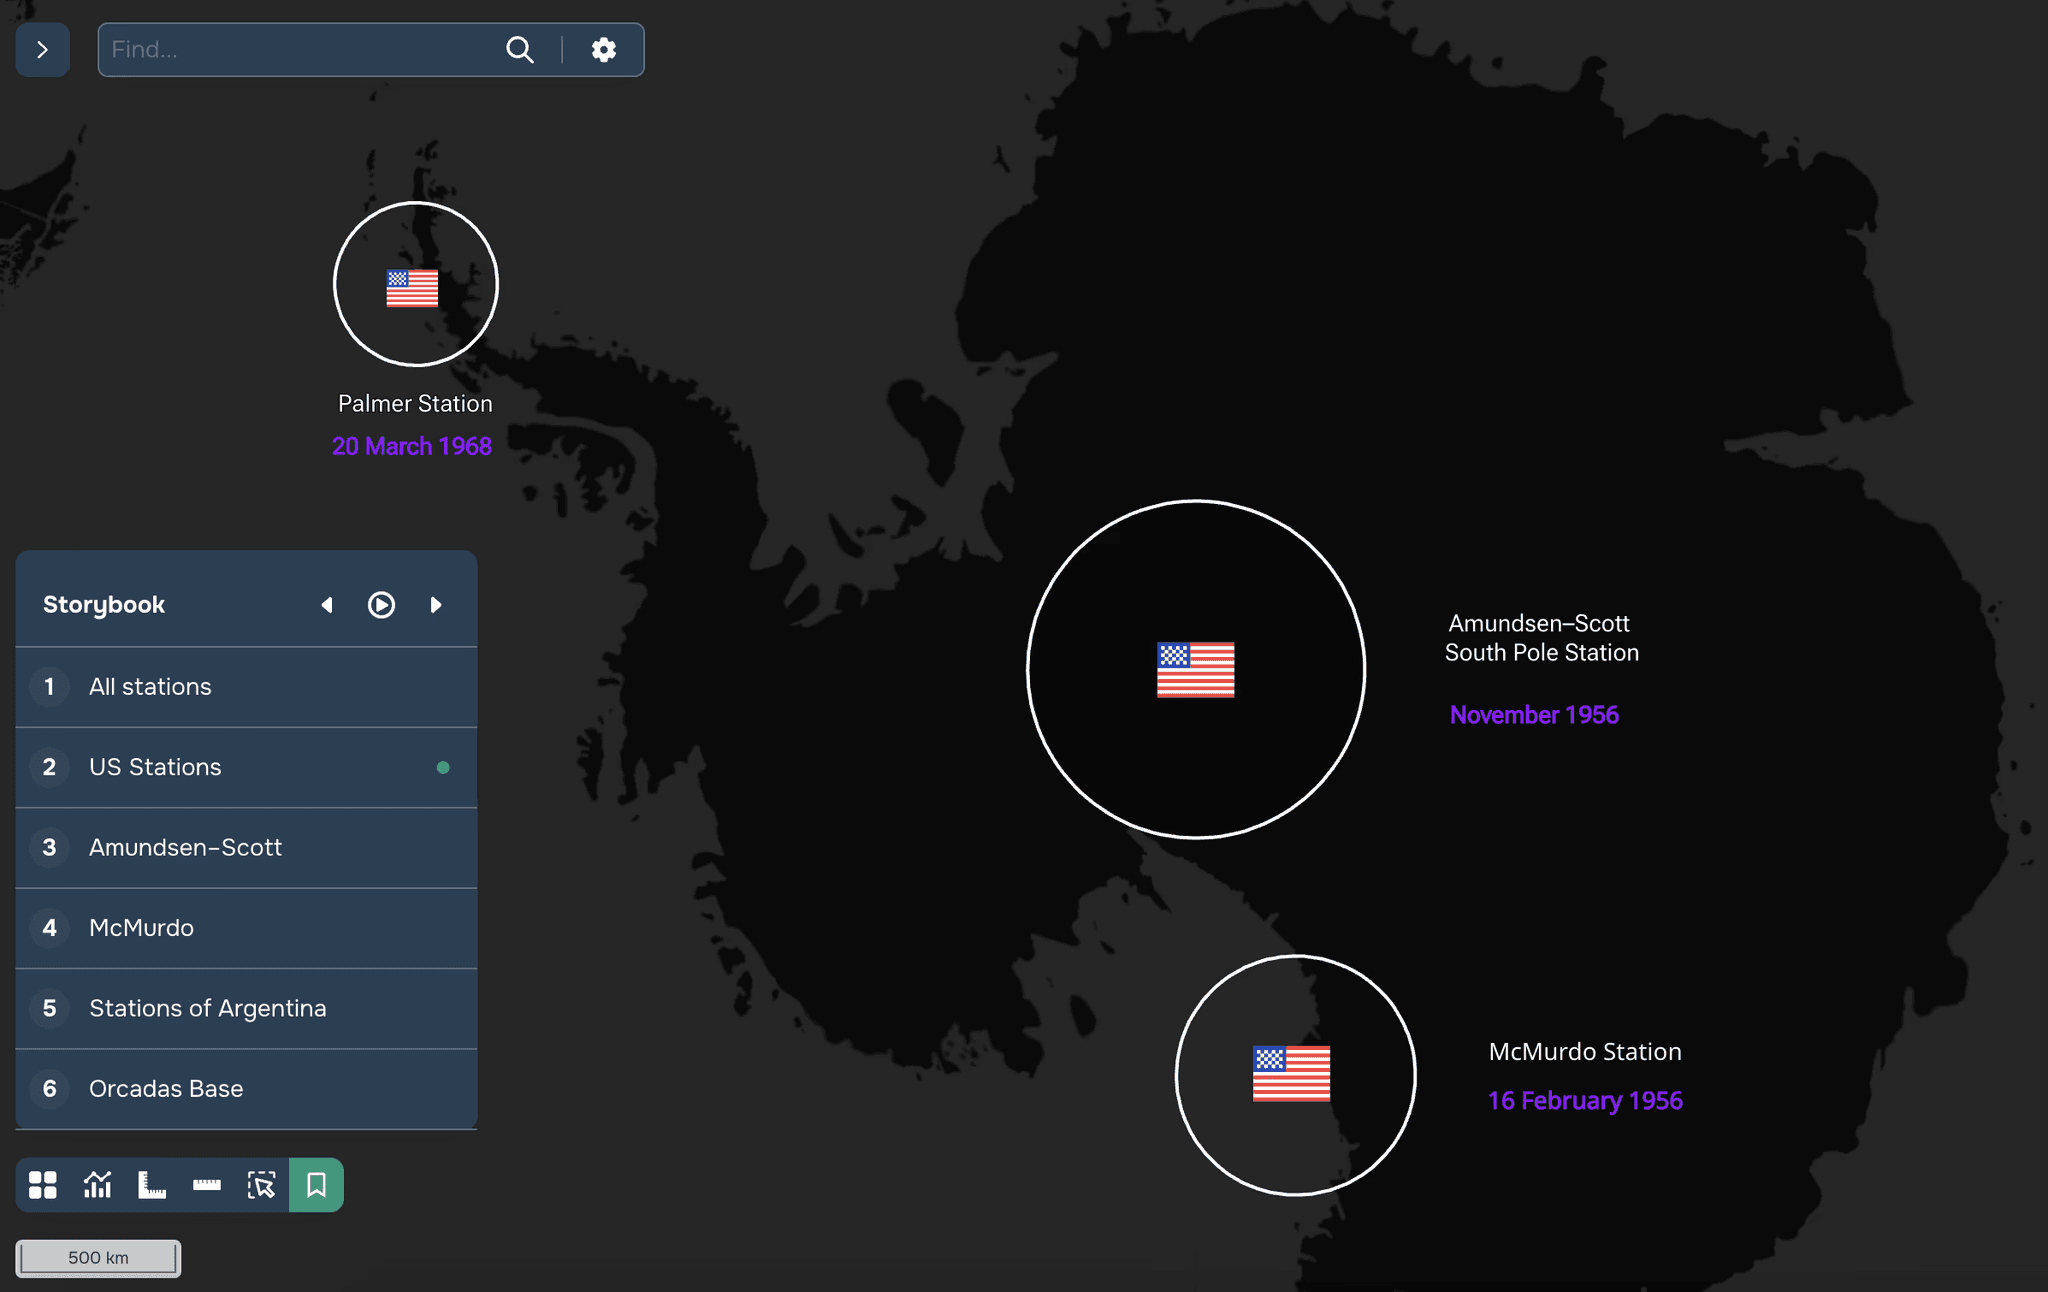
Graphics are very convenient to use in stories on the map (see Figure 7).